
Start Frame Prep
FREERuns on your deviceRuns on your deviceGet your images to the exact size and shape the video model wants, so nothing gets stretched or cut by surprise.Free vs Pro Same Tool, More Power.
| Feature | Free | Pro |
|---|---|---|
| Images at once | 2 | Up to 50 |
| Size | Up to 1080p | Up to 4K |
Prepare a Frame in Three Steps.
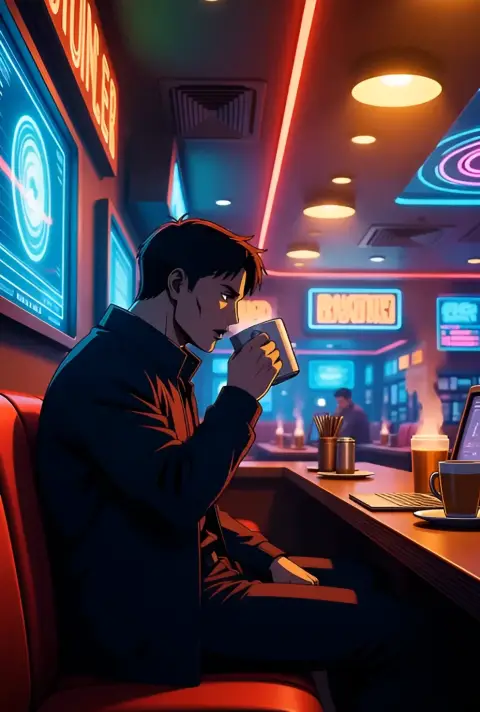
- Add an imageDrop a photo or a generated image. It stays on your device.
- Pick the model and shapeChoose a preset and how to fill any empty space.
- Animate or downloadSave the PNG and add it to Creatide as the first frame, or use it with any other model.
Small Step, Better Videos.
The first frame is the most important input of an image-to-video model. A few pixels of preparation save a lot of wasted generations.
No Surprise Crops
Give a model a 3:4 photo for a 16:9 video and it decides what to cut. Prepare the frame yourself and you decide.
No Stretching
Some tools squeeze an image to fit. Faces and products then look wide or thin for the whole clip.
Matching First and Last Frames
When you give a start and an end frame, both must be exactly the same size or the motion between them drifts.
Sharper Results
An image already at the model’s size isn’t scaled again, so you keep the detail you paid for.
Room to Move
Blur fill adds space around the subject, so a camera move or zoom has somewhere to go.
One File for Every Model
Switch the preset to get the same frame ready for another model in a second.
Sizes Video Models Accept.
Most image-to-video models work at 720p or 1080p in these shapes. Pick a preset and the tool uses the right one.
| Shape | 720p | 1080p | Use it for |
|---|---|---|---|
| 16:9 landscape | 1280 × 720 | 1920 × 1080 | YouTube, websites, TV |
| 9:16 vertical | 720 × 1280 | 1080 × 1920 | Reels, TikTok, Shorts, Stories |
| 1:1 square | 1024 × 1024 | 1080 × 1080 | Feed posts, product loops |
| 4:5 portrait | 864 × 1080 | 1080 × 1350 | Instagram and Facebook feed |
Models update often. Presets are kept up to date, but check a model’s own guide if it has just released a new version.
Related Tools
18 tools · scroll Video01Video CompressorShrink a video to fit Discord, WhatsApp or an email.
 Video02Trim, Cut & MergeCut the slow parts, join clips, rotate or flip.
 Video03Slow Motion & Speed RampSlow down the best moment, trim the rest, smooth the ramps.
 Video04Extract Audio or MuteSave a video's sound as MP3, or the video without it.
 Video05Frame GrabberSave the sharpest frame of a video as a still image.
 Subtitles06Video to TextGet a transcript of any video or audio, with timestamps.
 Music & audio07Text to SpeechTurn a script into a natural voiceover and save it as MP3.
 Music & audio08Slowed + ReverbMake slowed, reverb, sped up and nightcore versions of a song.
 Image09Remove Image BackgroundCut out a product or a person, ready for any design.
 Image10Image UpscalerMake small or blurry photos sharp, for free.
 Image11Magic EraserBrush over people, objects or text and they’re gone.
 Image12Image to PromptTurn any image into a prompt for AI images or video.
 Video13Video to PromptA prompt for every scene of a video, ready to remake.
 Video14AI Clip StitcherJoin AI clips with matched color and smooth cuts.
 Video15Seamless Loop MakerMake a clip loop forever without a visible jump.
 Video16Video Background RemoverCut a person out of a video, with a transparent background.
 Video17Color MatchGive every clip the same look, or save it as a LUT.
 Music & audio18Voice CleanerTake the noise and hum out of a voice recording.
Get Any Image Ready to Animate
Start Frame Prep crops, fits and fills an image to the exact size and shape an image-to-video model expects. Add a second image and it prepares a matching start and end frame.
It removes the guesswork that leads to stretched faces, cut-off products and wasted generations.
Fast and Private
Cropping, blur fill and resizing happen in your browser, so your images aren’t uploaded.
Nothing to install and no daily limit: prepare as many frames as you like.
Frames That Animate Well.
What the first frame looks like decides how the whole clip moves.
- 01
Leave Room for Motion
If the camera will push in, frame a little wider than the final shot. If the subject will walk, leave space in front of them.
- 02
Keep Text and Logos Away from the Edges
Edges are where models invent new pixels. Keep important details inside the middle two thirds.
- 03
Use the Last Frame as the Next First Frame
For longer videos, take the last frame of each clip with Frame Grabber and prepare it here as the next start.
- 04
Same Light in Start and End
If start and end frames have very different light, the model has to invent a change. Similar light gives smooth motion.
Crop or Blur.
When the shape of your image doesn’t match the video, something has to give. These are your two options and when each one works.
Crop
Cuts the image to the new shape. Best when the subject sits in the middle and there’s room around it. Drag Position to choose what stays.
Blur Fill
Puts the full image in the middle and fills the sides with a soft, blurred copy. Nothing is cut, and the model sees the whole subject.
Start Frames, Answered.
What is a start frame?
The image an image-to-video model animates. The model keeps its look and adds motion, so its size, framing and light shape the whole clip.
Why not upload my photo straight to the video model?
You can, but the model will crop or stretch it to fit its own size. Preparing it first means you decide what’s kept.
Which sizes do AI video models use?
Most work at 720p or 1080p in 16:9, 9:16 or 1:1. Pick a preset and the tool uses the right size for that model.
What’s the difference between crop and blur fill?
Crop cuts the image to the new shape. Blur fill keeps the whole image and fills the sides with a blurred copy.
Can I prepare a start and end frame together?
Yes. Turn on Start and end frame and add two images. Both come out at exactly the same size and position.
Are my images uploaded?
No. Everything happens in your browser, and your images never leave your device.
Which file format should I use?
PNG keeps every detail, so the tool saves PNG. If a model has an upload size limit, a high-quality JPG of the same frame is fine.
Does it upscale small images?
It resizes them to fit. For small or blurry images, run them through the Image Upscaler first.
Can I use it for Reels covers too?
Yes, the 9:16 preset at 1080 × 1920 works for Reels, TikTok and Shorts covers.
Does it work on a phone?
Yes, instantly. It’s just an image.
 Start generating
The Next Shot IsJust a Prompt Away
Unlock premium AI creation, faster rendering, commercial rights and watermark-free exports whenever your next idea is ready.