
●15 min read
How to Upscale Video to 4K Without Oversharpening
A 4K file can still look worse than the source if sharpening runs too hard.
This guide shows how to upscale video to 4K with cleaner edges, natural texture, and fewer AI artifacts.
Use a conservative sequence, check results in motion, and stop before detail recovery invents what was never there.
Soft footage can look worse after enhancement.
Push low-res or compressed clips into 4K and edges often turn crunchy.
Bright halos rim high-contrast lines, and skin texture goes plastic.
Noise that should stay quiet hardens into grit.
Soft source detail turns artificial instead of clear.
A higher-resolution container is not automatically better-looking video.
When you upscale video to 4K with aggressive detail recovery, the model can invent texture that was never in the source.
The catch:
You can chase sharper still frames and still ship a clip that fails in motion.
The better move:
Use a conservative sequence that cleans noise first, then applies restrained detail, face, and sharpen controls.
By the end, the choice should feel less like maxing every slider and more like a production decision.
Symptom checks, control trade-offs, and motion review should decide when to stop before the 4K pass looks fake.

A 4K Container Is Not Automatically Better Video
A 4K container only increases pixel count. It does not guarantee cleaner edges, natural texture, or better perceived sharpness. Soft or noisy sources can look worse after aggressive enhancement because resolution, detail recovery, and sharpness are separate production decisions.
Many product pages position one-click 4K conversion as a simple quality upgrade.
Treat that as product positioning, not proof of natural results.
4K is a container decision about pixel count.
Clean detail is a separate decision about edges, texture, and motion.
4K video upscaling can enlarge the frame while still showing soft edges or noisy surfaces.
Viewers notice texture and edge quality before they care about the resolution label.
Soft or heavily compressed sources often look worse when enhancement invents microcontrast.
Aggressive detail recovery can invent texture that was never in the capture.
That is why a 4K file is not automatically better-looking than the source.
Keep resolution target, detail recovery, and perceived sharpness as separate controls.
Chase natural, detail-preserving results instead of forcing the highest label on every clip.

How AI Video Oversharpening Shows Up on Screen
AI video oversharpening shows up as crunchy edges, bright edge rims, exaggerated skin texture, sharpened noise, and invented microdetail. Spot these production symptoms in motion before you change controls, because frozen frames often overrate microcontrast and hide shimmer.
This is a look problem, not a resolution label problem.
Crunchy edges feel brittle instead of clean.
Bright video sharpening halos form glowing rims around hair, text, and object borders.
Skin fails next. Pores look stamped and faces go plastic.
Compression noise hardens into grit. Soft grain becomes sparkly texture.
Artificial or invented detail is the most misleading failure. Surfaces gain texture the source never had.
Still-frame peeping makes this worse. Extreme zoom overrates residual edge contrast that normal viewing would ignore.
Judge at viewing scale first. Then watch short motion passes for edge crawl, flickering texture, and shimmering rims.
Crunchy edges: brittle outlines on hair, text, and borders
Bright edge halos: glowing rims on high-contrast edges
Exaggerated skin: plastic pores and gritty makeup
Sharpened noise: soft grain hardened into sparkle
Invented detail: fake microtexture missing from the source
Why Edges Turn Crunchy and Halos Appear
Edges turn crunchy and bright rims form when enhancement treats noise as detail, boosts local edge contrast too hard, invents missing texture, or overdrives face recovery. Process order is the real cause: skip cleanup, and compression grit hardens into fake sharpness during 4K video upscaling.
Most artifact chains start with dirty input, not a weak resolution label.
Compression blocks, mosquito noise, and grain look like high-frequency texture to detail models.
If those signals stay in the frame, later recovery stages can treat them as real edges.
That is why denoise-before-aggressive-detail is a causal rule, not a style preference.
Clean late, and the upscaler has already locked noise into microcontrast.
Sharpen-style controls make the next failure visible.
They raise local contrast around borders through amount and radius style boosts.
Push either too far and high-contrast lines grow bright or dark rims.
Those video sharpening halos read as glow in motion, even when a paused frame still looks “crisp.”
Detail recovery adds a different risk.
Modern AI upscalers reconstruct more than simple interpolation, so weak sources can gain invented microtexture.
Fabric, skin, and background surfaces pick up stamped patterns the capture never held.
Face enhancement often multiplies that effect.
Pores, makeup, and fine facial texture get pushed into plastic grit instead of clean skin.
Extreme still peeping makes every stage look worse than it is.
At 200% or 300% zoom, residual contrast edges can look like damage even when normal viewing would pass them.
Some high-contrast digital edges are normal at extreme zoom.
Glowing rims that shimmer during playback are the production problem.
Stacked enhancement is the multiplier.
Denoise, deblur, detail, face, and sharpen in the wrong order turns mild recovery into crunchy outlines.
Treat process order as a control, not a default you ignore.
If you only raise recovery after a dirty source, you are amplifying artifacts, not restoring capture fidelity.
Start With the Cleanest Source You Can Get
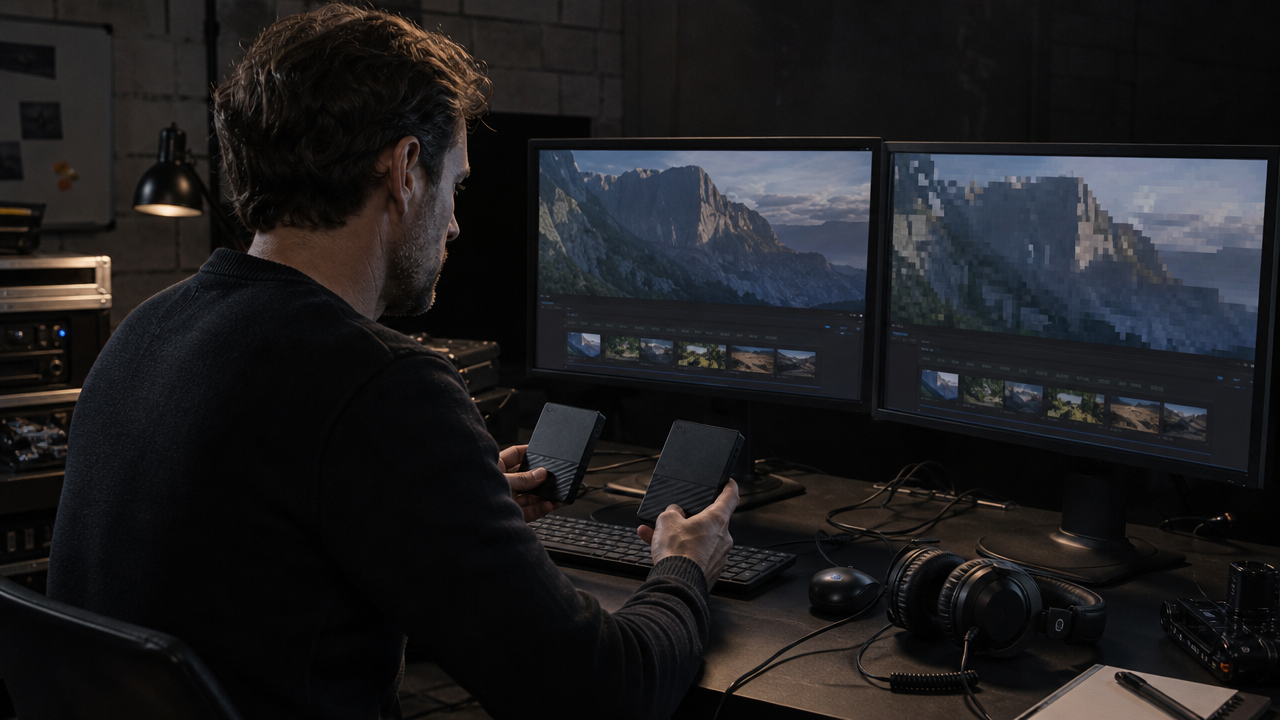
Natural AI video upscale quality starts before any enhance control. Choose the cleanest available master, skip recompressed social downloads when possible, and keep the export chain short. Heavy compression, severe blur, and major identity failures cannot be fully invented away later.
If multiple versions of a clip exist, start with the highest-quality master.
Source-reported tutorials make the same point: the better export gives the model more usable data.
A recompressed social download often adds compression noise before enhancement begins.
That noise later reads as fake detail.
Pre-upscale prep also means a short export chain.
Every extra re-encode can stack blocks, mosquito noise, and soft edges.
Some damage sits outside honest recovery.
Heavy compression, rolling shutter mess, heavy blur, and severe identity issues cannot be fully invented into natural texture.
If the source is almost right, refinement can help.
If it is broken, recapture or lower the enhancement ambition.
A Conservative Workflow to Upscale Video to 4K
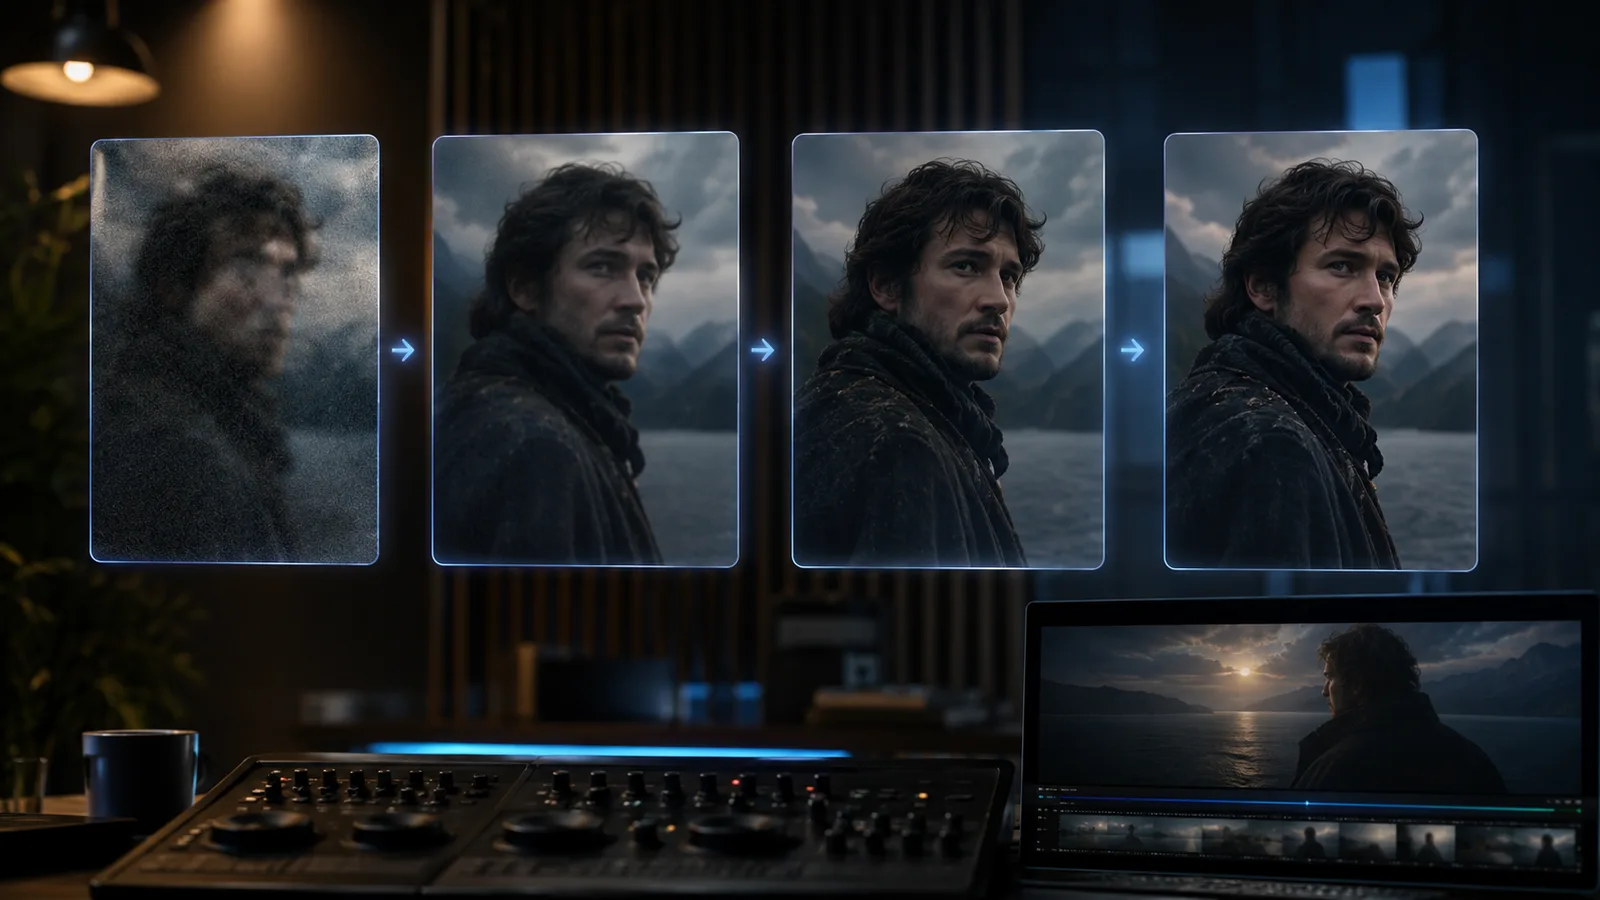
A conservative path to upscale video to 4K starts with the cleanest source, reduces compression noise before detail recovery, then applies restrained detail, face, and sharpen controls. Preview a short segment in motion before you commit the full clip.
You already locked a clean master. Now protect natural texture with sequence, not max settings.
The practical result:Order beats every slider at full strength.
Many enhancer demos bundle denoise, detail, face, and sharpen into one pass. Treat those categories as steps. Do not treat them as a race to the top.
Reduce Noise Before You Recover Detail
Reduce compression noise and obvious grain before aggressive detail recovery.
Noise looks like high-frequency texture to many models. If you recover detail first, grit becomes sharpened sparkle.
Clean first. Then recover.
Soften compression blocks and mosquito noise
Pull down grain that will not read as real texture
Recheck faces and flat backgrounds for leftover grit
Only after cleanup should stronger detail controls open.
Use Conservative Detail, Face, and Sharpen Controls
Start detail recovery and sharpening low after the frame is clean.
Raise each control a little, then preview. That approach supports detail-preserving upscaling without inventing microtexture.
Face enhancement needs careful balance. It can help eyes and skin, but overuse stamps pores and hardens makeup into plastic grit.
Avoid stacked sharpen stages. One restrained pass is safer than three aggressive ones.
If edges already look crisp in motion, stop. Extra microcontrast rarely looks more natural.
Preview Short, Then Commit to the Full Clip
Render a short test segment before you process the full length.
Compare the enhanced cut against the source at normal viewing scale. Watch for edge crawl and synthetic sparkle in motion.
If added sharpness starts looking fake, pull back and re-export the preview. Keep the final encode chain short so a second compression pass does not reintroduce grit.
Only commit the full clip once the short pass holds up. A natural AI video upscale is the version that survives playback, not the one that wins a paused zoom contest.

Resolution, Denoise, Detail, Face, and Sharpen Trade-Offs
Natural results come from balancing five separate decisions: resolution target, denoising, detail recovery, face enhancement, and sharpening. Push any control too hard and the others amplify the damage. A natural AI video upscale favors restraint over maxing every slider.
These controls do not pull in the same direction.
Resolution multiplies whatever frequency the model keeps.
Denoising removes grit, but it can also erase real microtexture.
Detail recovery and sharpening raise edge contrast, which can create crunch and glowing rims if noise remains.
Face enhancement can clarify identity or stamp plastic pores.
| Control | Helps when | Hurts when |
|---|---|---|
| Resolution target | The display needs a higher pixel count | The source is weak and recovery invents texture |
| Denoising | Noise sparkles during motion | Skin and fabric go flat |
| Detail recovery | Real edges still look soft after cleanup | Missing texture gets invented |
| Face enhancement | Faces need clearer identity | Pores look stamped or gritty |
| Sharpening | Edges still feel dull after recovery | Bright rims and crunchy outlines appear |
The practical result: each gain in one control can tax another.
Treat the matrix as a balance, not a checklist to max out.
When Higher Resolution Targets Backfire
More pixels do not fix a weak source.
Max 4K aggression can magnify both real detail and fake high-frequency noise.
If the master is soft, heavily compressed, or already unstable, lower enhancement intensity can look cleaner in motion.
Invented microtexture often looks fine on a paused frame, then crawls during playback.
Prefer intermediate ambition when edges start glowing or fabric turns into grit.
Balancing Cleanliness Against Natural Texture
Denoise and face detail compete for the same texture budget.
Clean more when noise sparkles across motion.
Pull face and detail back when pores look stamped.
If noise sparkles in motion, increase early cleanup
If pores look stamped, lower face enhancement
If fabric looks plastic, reduce detail recovery
If edges glow, lower sharpen-style contrast
Natural texture survives when cleanliness stops short of wiping the frame flat.

Judge Upscales in Motion, Not on a Frozen Frame
A frozen frame can make an upscale look sharper than it really is. Judge quality during playback, not on one paused still. Watch for edge crawl, flickering texture, shimmering halos, skin grit, and temporal instability that only show up across frames.
Still-frame peeping at 100% overrates microcontrast.
A bright edge that looks impressive on pause can shimmer or crawl once the clip moves.
That is why motion QA should be your primary acceptance test after enhancement.
Source-reported sharpening guidance makes a related point: extreme zoom can make contrast rims look worse than they do at normal scale.
Video adds another requirement: temporal consistency across frames.
If major instability already exists in the source, post-enhancement polish will not fully hide it.
Use a short playback check on a representative segment before you accept the full render.
Edge crawl or crawling outlines
Flickering or sparkling texture
Shimmering bright edge rims
Skin grit that sparkles in motion
Temporal instability on faces, fabric, or backgrounds
Play at normal speed first.
Then scrub problem areas only if something distracts during motion.
If the frame looks perfect only when frozen, pull back detail or sharpen and re-preview.
Fix Halos, Crunchy Skin, and Invented Texture
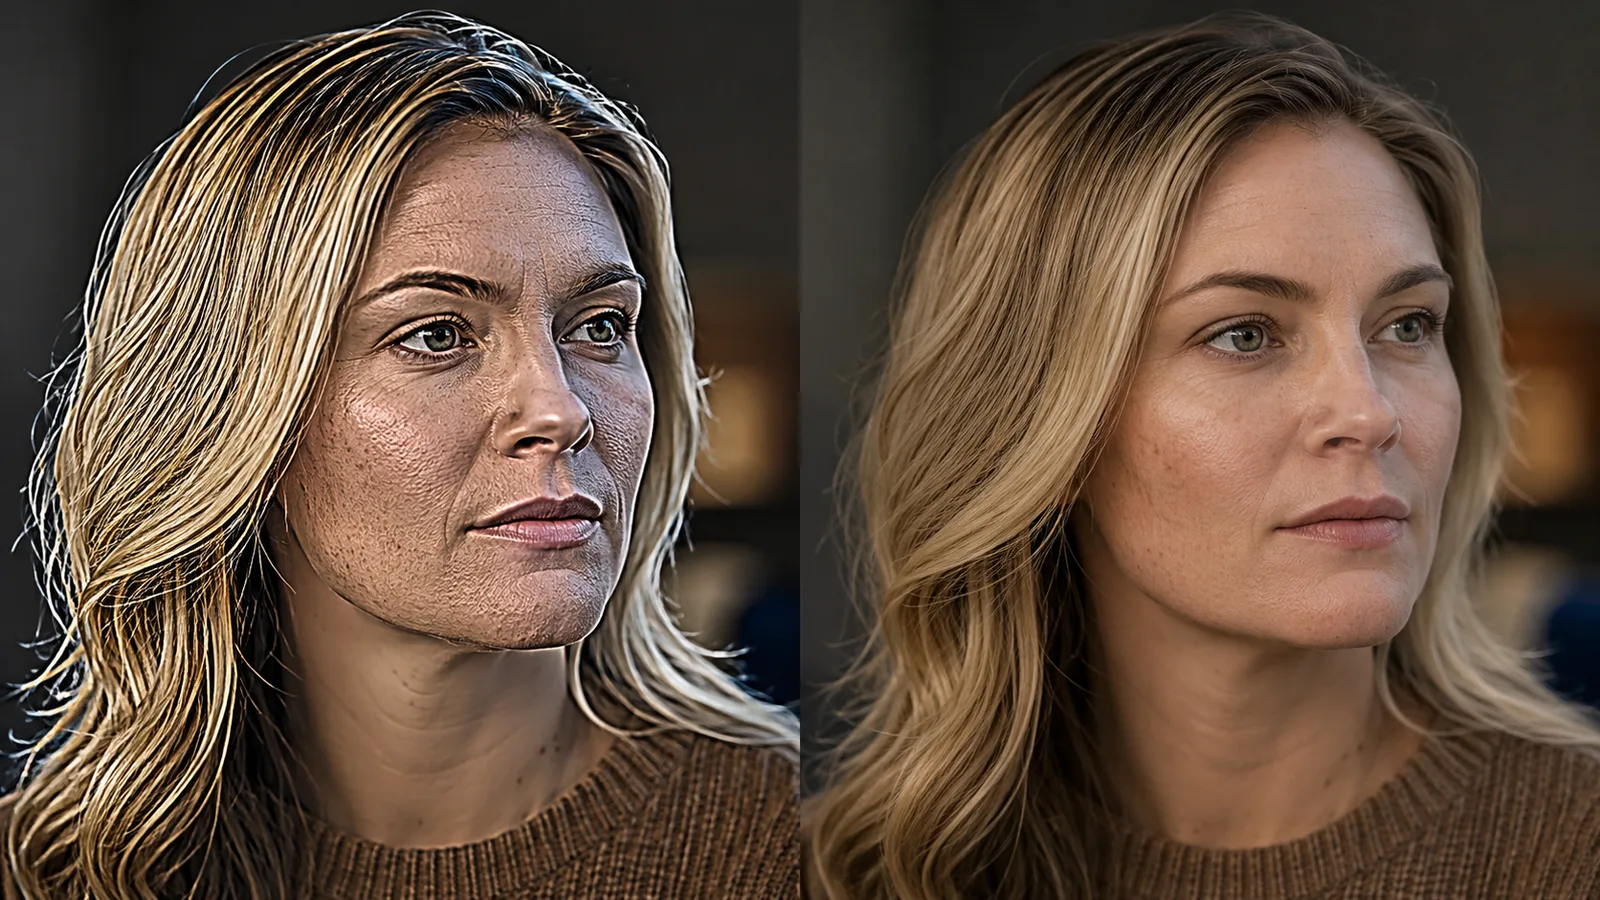
When upscales show bright edge halos, crunchy outlines, skin grit, or fake microdetail, pull settings back by failure mode. Reduce sharpen and detail for rims, clean noise earlier for sparkle, lower face enhancement for plastic pores, and stop inventing texture that was never in the source.
You already know the conservative sequence and the motion check.
Now map each failure to a production pullback instead of raising every slider again.
The better move: fix the control that created the artifact.
Edge Halos and Crunchy Outlines
Bright edge rims and crunchy outlines usually come from aggressive sharpen or detail contrast.
Reduce amount-style strength and radius first.
Avoid stacking multiple sharpen stages after the upscale pass.
Some contrast edges look normal at extreme zoom.
Glowing rims that shimmer during playback are the real problem.
Photo brush or mask cleanup can hide a still, but it is only a limited post fix for multi-frame video edges.
Recheck the fix in motion after every pullback.
Skin Grit, Sharpened Noise, and Fake Microdetail
Exaggerated skin, plastic pores, and sharpened noise mean grit was treated as texture.
Lower or disable face enhancement when pores look stamped.
Raise earlier denoise if sparkle survives into motion.
Cut detail recovery strength when microtexture looks invented.
Missing source detail cannot be honestly created.
If artifacts are baked into a weak master, reprocess from a cleaner source instead of forcing more recovery.
Accept a softer honest frame over synthetic grit that distracts in motion.
When AI Upscaling Hits Its Limits
AI upscaling has hard limits. Severe blur, extreme compression, heavy temporal instability, and morphing subjects cannot be honestly rescued by max 4K recovery. When those failures dominate, re-export, re-shoot, regenerate, or use milder enhancement instead of forcing detail that was never captured.
When source problems are structural, enhancement only multiplies them.
Severe blur and crushed compression leave little real signal to recover.
Heavy temporal instability and morphing AI subjects are consistency failures, not resolution gaps.
Source-reported guidance is clear: post-processing helps footage that is already almost right.
It does not save major object drift, face morphs, or dramatic lighting shifts.
Regenerate the source media, re-shoot the scene, or re-export from a cleaner master.
Sometimes mild enhancement plus a careful grade beats aggressive recovery.
That creates a trade-off: more pixels with invented texture can look worse than a restrained pass.
If motion QA still fails after conservative settings, stop pushing the upscaler.
When you need to upscale video to 4K, accept the limit and choose the cleaner path.
Frequently Asked Questions
Is upscaled 4K the same as native 4K?
No. Upscaling raises pixel count and can look clearer on a 4K display, but it cannot recreate missing optical detail from the original capture. Treat upscaled 4K as enhanced delivery, not native acquisition. Judge the result by edge quality and texture in motion, not by the resolution label alone.
Can I upscale 720p or lower to 4K without it looking fake?
Sometimes, if the master is clean and enhancement stays conservative. Large jumps magnify compression noise and invite invented microtexture. Denoise first, keep detail, face, and sharpen restrained, and accept a milder pass when motion review fails.
Does AI video upscaling invent detail that was not in the source?
Modern AI reconstructs edges and texture beyond simple interpolation, so weak sources can gain plausible but unearned microdetail. That helps only when the result still looks honest in motion. Fake pores, stamped fabric, and crawling surfaces are a stop signal, not a quality win.
Can I fix an already oversharpened 4K export, or should I reprocess?
Mild still-frame cleanup rarely fixes multi-frame edge glow or skin grit. Prefer reprocessing from a cleaner master with lower sharpen and detail, plus earlier denoise. Photo-style halo masks can hide a still, but they are only limited post fixes for video.
Should I color grade before or after I upscale video to 4K?
Do major cleanup and upscaling on the cleanest master first, then grade the accepted enhanced pass when you can. Heavy grading or extra re-encodes before enhancement can add noise that later hardens into crunchy texture. Keep the chain short so you are not sharpening compression damage.
How far should I scale before results look artificial?
There is no universal safe multiplier. A 2x jump from a clean master is often more controllable than forcing max 4K aggression on soft, noisy, or unstable footage. Choose the target that still looks natural in motion, not the highest label available.
Should I add another sharpen pass in my editor after AI upscaling?
Usually avoid stacking sharpen stages after a strong AI pass. If edges already look crisp in motion, extra NLE sharpening often creates bright rims and crunch. If the image still feels soft after a conservative upscale, add only one light pass and recheck playback.