●14 min read
AI Image Relighting: Fix Fake Shadows and Mismatched Light
Background swaps and subject inserts often break light direction before anyone notices.
Fake shadows, flat skin, and mismatched highlights are usually a shared-source problem, not an exposure problem.
This guide shows how to diagnose the break, relight with intent, and check shadow coherence before export.
The edit looks finished.
Until the light breaks.
After a background change or subject insert, the composite can still feel assembled.
Fake shadows, flat skin, and misplaced highlights give the edit away.
That is the trap for intermediate AI creators, product marketers, photographers, designers, and art directors.
The real cost is not the first odd shadow.
It is the regeneration loop that never lands one coherent light source.
The catch:
Brightness and contrast will not fix geometry.
A practical AI image relighting path starts with diagnosis, not another exposure pass.
Then you move past prompt-only guesses into reference light, directional control, targeted relighting, and final shadow checks.
By the end, the choice should feel less like another generation pass and more like a lighting decision.
Subject, materials, shadows, and environment must answer the same implied light source.
Start there, and the next inspection gets sharper.
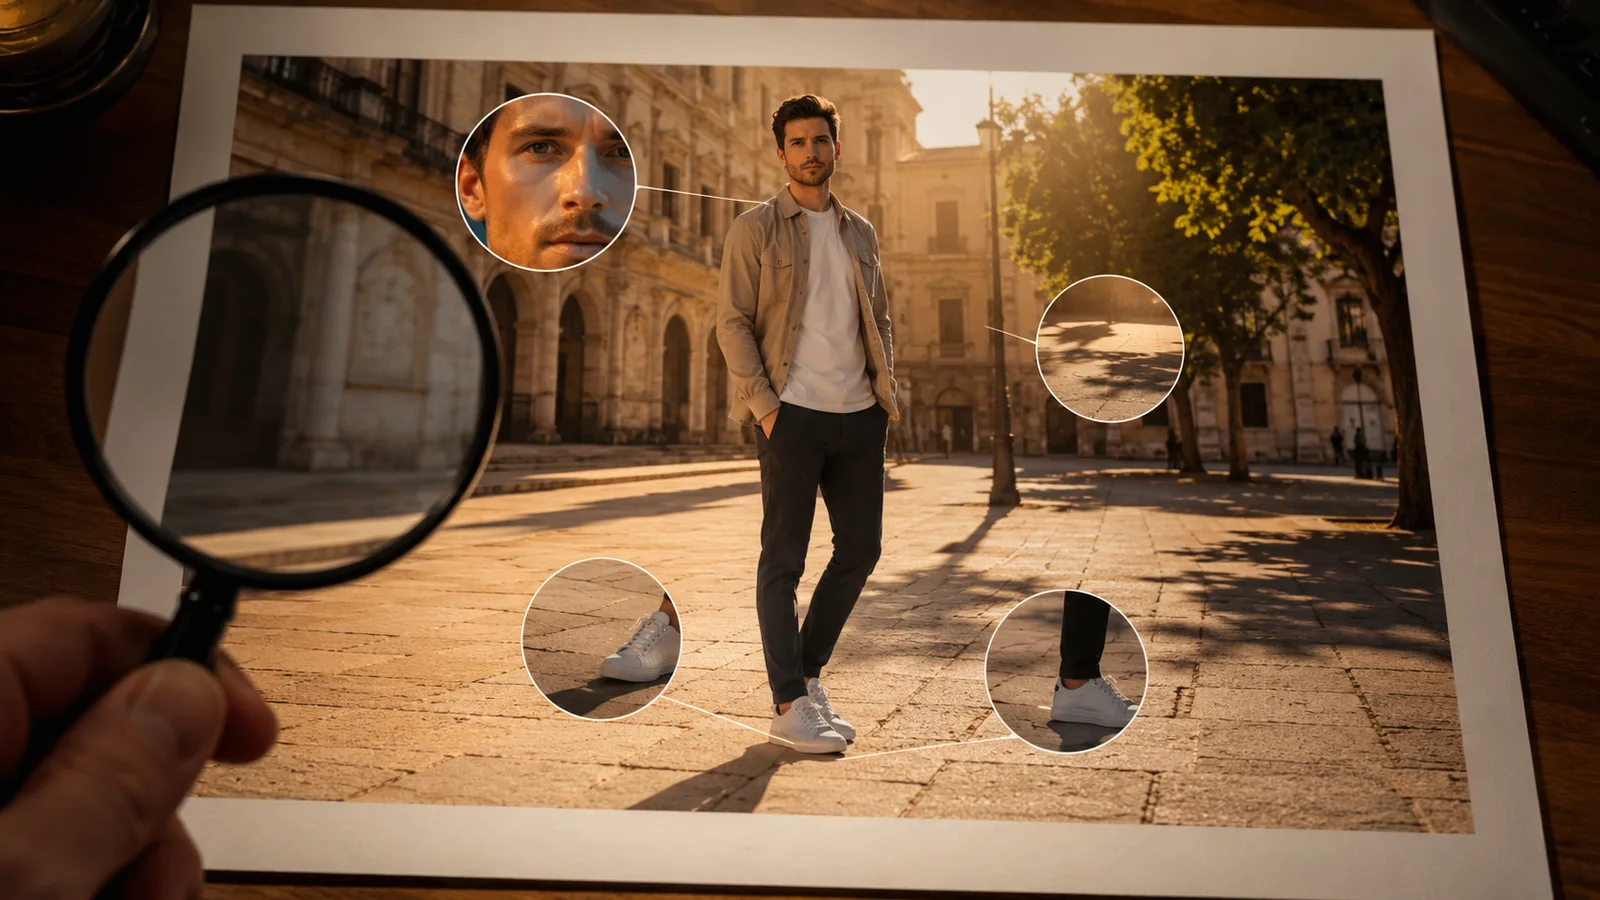
Spot Fake Shadows and Mismatched Light First
Fake shadows and mismatched lighting usually appear after background changes or subject insertion, when cast-shadow direction, highlight placement, and environment light no longer agree. Inspect those axes first so you fix the real break instead of chasing brightness, style, or another regeneration loop.
Most composites fail the light story before they fail the crop.
Before another generation pass, scan the image in this order:
Overall key-light direction
Highlight side on the subject
Cast shadow orientation
Contact shadows at base contact
Ambient color versus the new background
Source-reported analysis notes cast shadows and reflections can disagree in one scene.
Mark these failure modes next:
Fake shadows that ignore the new key direction
Wrong-side highlights on face or packaging
Missing contact shadows that create floating bases
Ambient color that fights the environment
Portrait Cues: Flat Skin and Wrong-Side Highlights
Face planes go flat when the new environment no longer drives the key.
Nose and cheek highlights match the scene key side
Jaw and eye-socket shadows share one direction
Rim light matches the new background
Skin fill tracks ambient temperature
Flat midtones mean form is washed out
Flag the portrait after two failures.
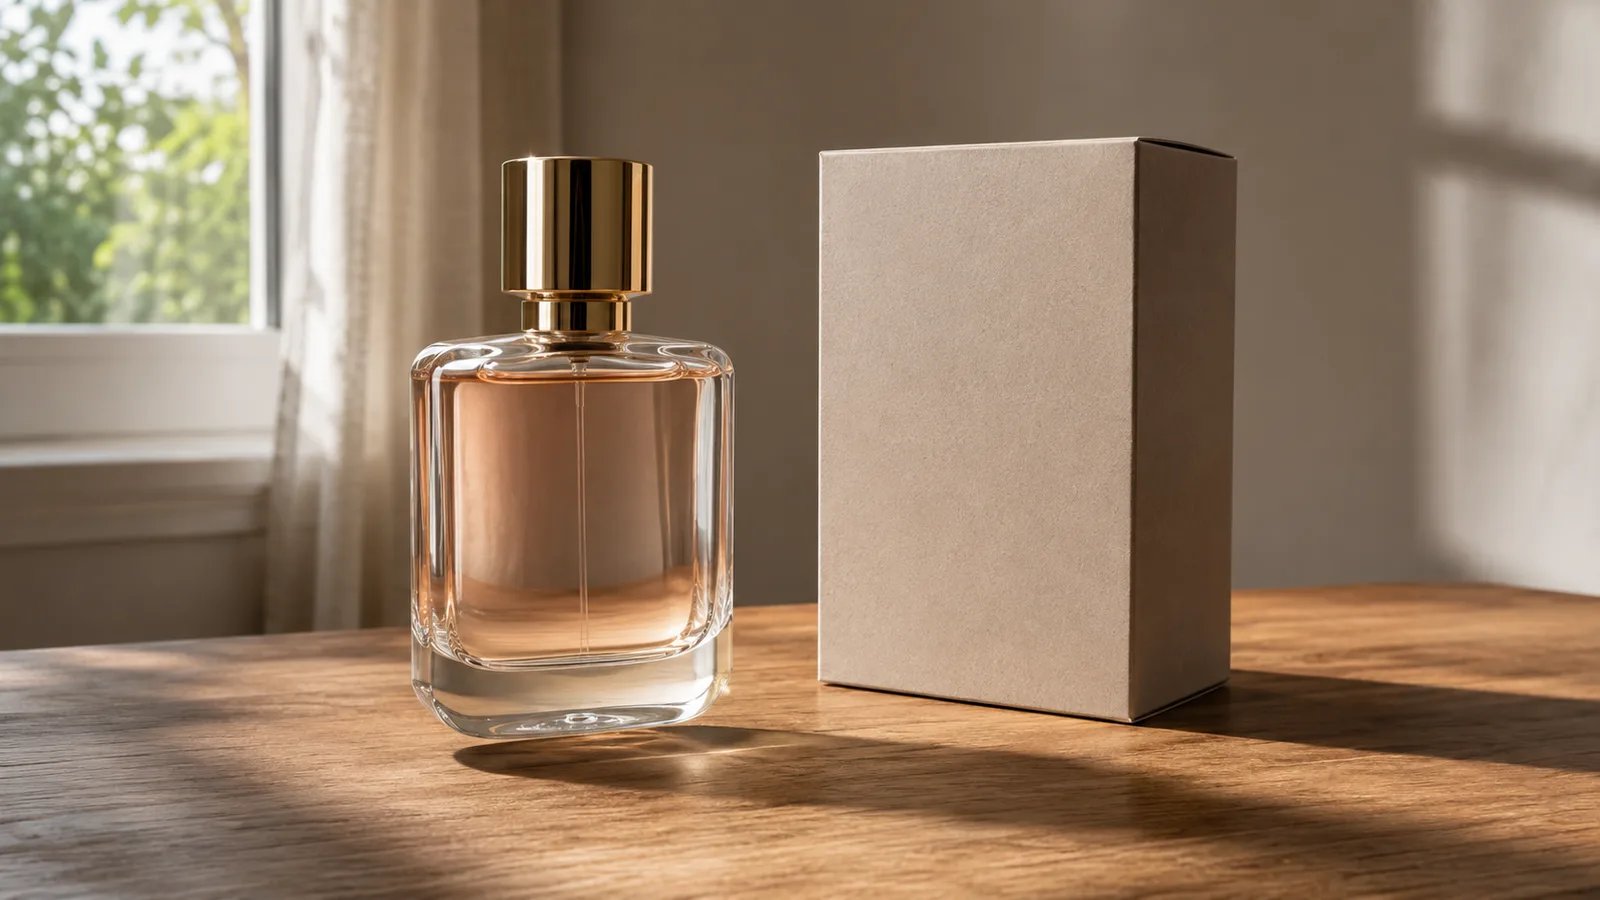
Product and Composite Cues: Floating Edges and Split Light
Products and composites break first at contact and specular truth.
Base contact under every grounded object
Cast shadows agree across subjects
Speculars on metal, glass, and packaging follow the new key
No floating edges at floor contact
No split left-right key across objects
If multi-object shadows disagree, stop polishing isolated pieces.

AI Image Relighting Is Not a Brightness Fix
AI image relighting changes how the subject, materials, shadows, and environment respond to one implied light source. It does not raise overall brightness, exposure, or contrast across the frame. Believable results need shared-source response, not a global filter pass.
A brighter frame can still look fake.
Wrong-side highlights stay wrong when you only lift exposure.
Cast shadows keep the old direction under a pure contrast pass.
True relighting asks whether skin, packaging, and floor planes answer the same key.
On skin, shared-source response moves highlight side and fill with the new light story.
It does not just brighten flat midtones.
On packaging, speculars shift along the edge facing the key.
Gloss should not keep highlights from the old setup.
On the floor, cast and contact shadows follow that same direction and strength.
Ambient spill should match the environment, not the previous plate.
The practical result: brightness and global filters change values without rebuilding light geometry.
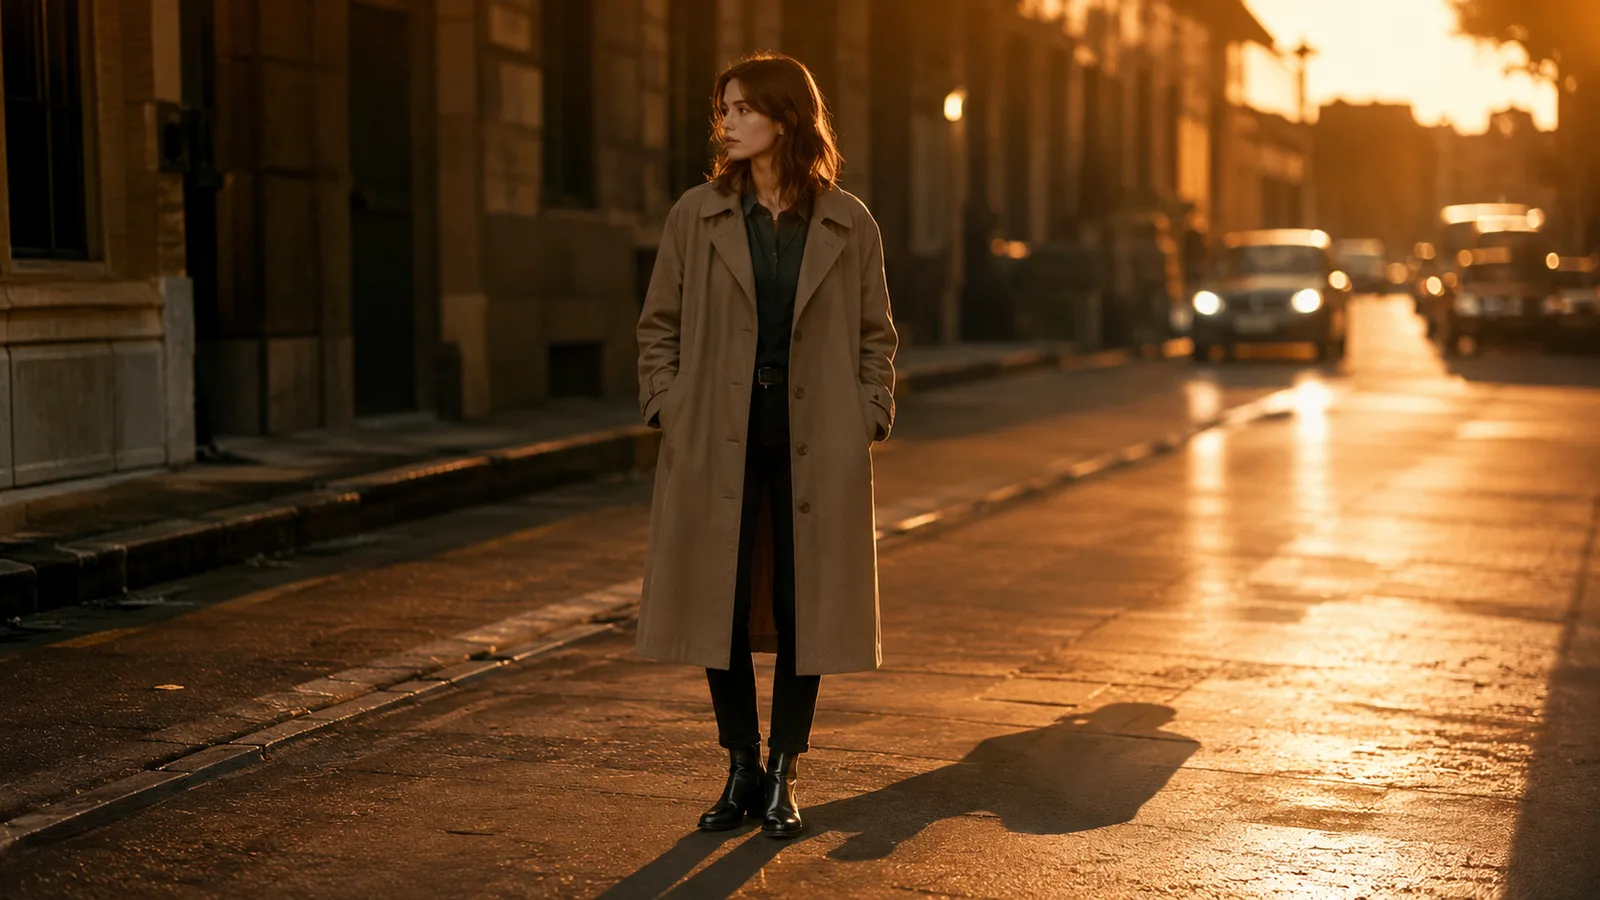
When Prompt-Only Lighting Changes Fail
Text prompts can nudge mood or color temperature after a composite change, but they often fail to realign cast shadows, speculars, and environment fill. When background replacement or subject insertion breaks geometry, generic labels like studio light restyle the frame without rebuilding light direction.
Prompt-only lighting works when the geometry is already mostly aligned.
You only need a mild mood shift, warmer fill, or softer contrast.
The catch: hard composites keep old key direction, wrong-side speculars, or environment-mismatched fill.
Phrases like studio light or golden hour often change style without rebuilding cast-shadow orientation.
That is style drift, not geometry repair.
Source-reported guided workflows reduce prompt engineering overhead so teams focus on mood and direction.
Lighting coherence can still fail if free text never forces one shared source.
Use this decision rule:
Success condition: mild mood or temperature nudge when geometry already coheres
Failure condition: background swap, subject insert, or multi-image assembly with retained old key
Stop signal: cast direction, specular side, contact shadows, or ambient fill still disagree after a few iterations
Chasing adjectives will not create consistent AI image lighting after a discontinuous plate.
Switch control methods instead of regenerating the same broken light story.
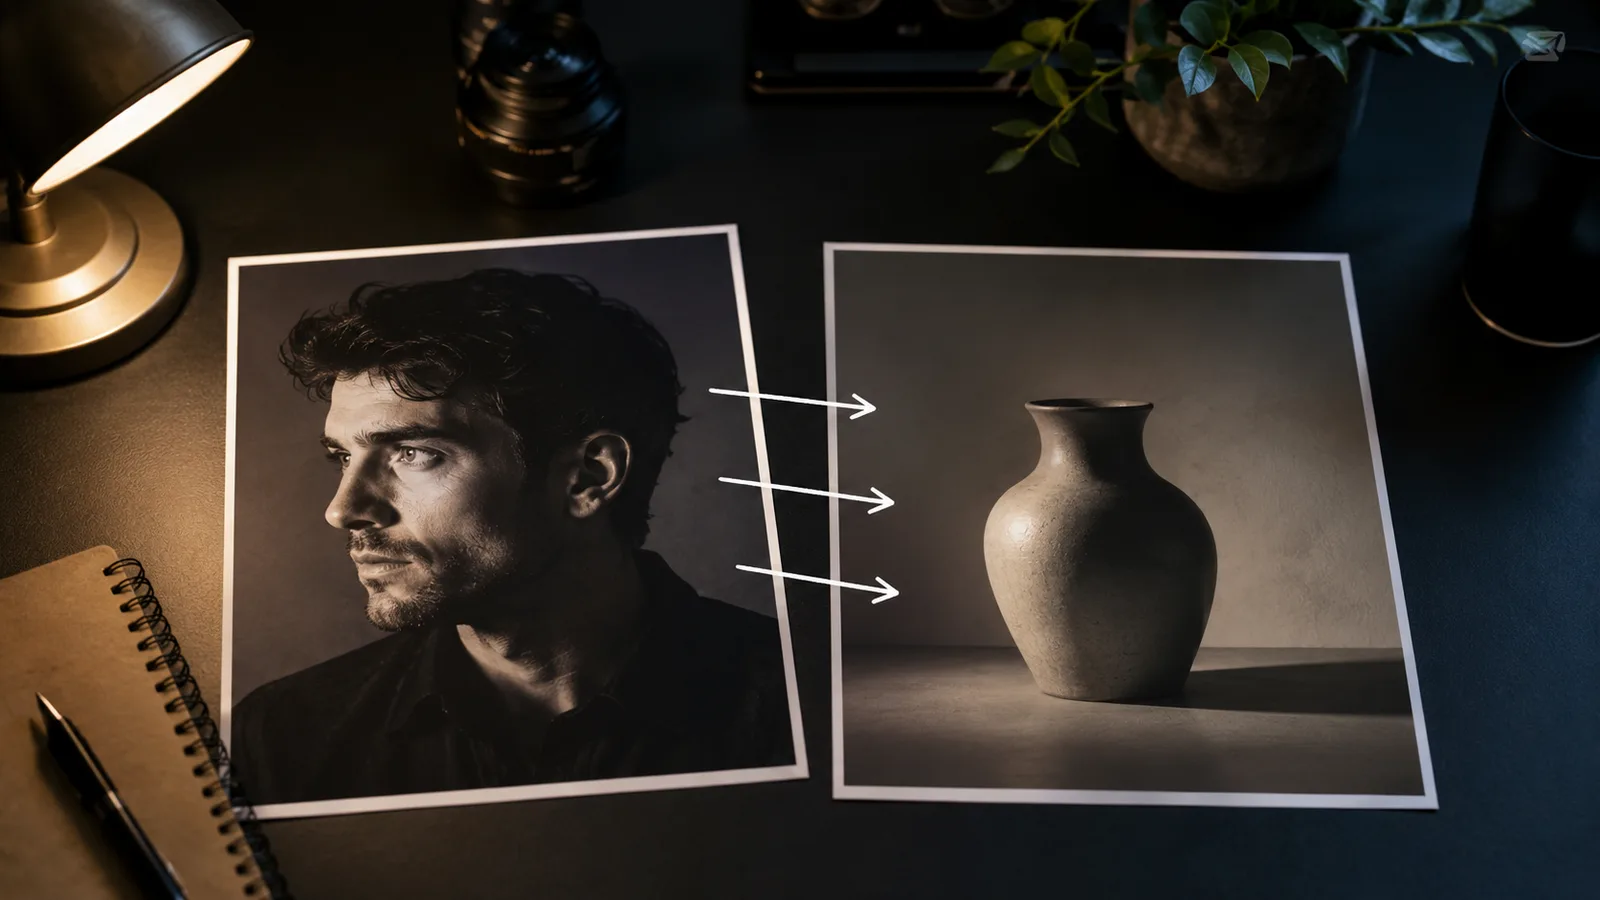
Build Direction With a Lighting Reference Image
A lighting reference image transfers direction, color temperature, and mood more reliably than abstract light adjectives alone. After a background change or subject insertion, a clear reference can lock shared key cues while you preserve subject identity and composition intent.
Abstract mood words restyle without rebuilding light geometry.
A lighting reference image gives a concrete story for key direction and ambient color.
Source-reported workflows recommend real photography or a controlled look for that transfer.
That means: the reference supplies shared-source cues free text rarely rebuilds after composites.
Conflicting multi-light setups can confuse the transfer and split the key.
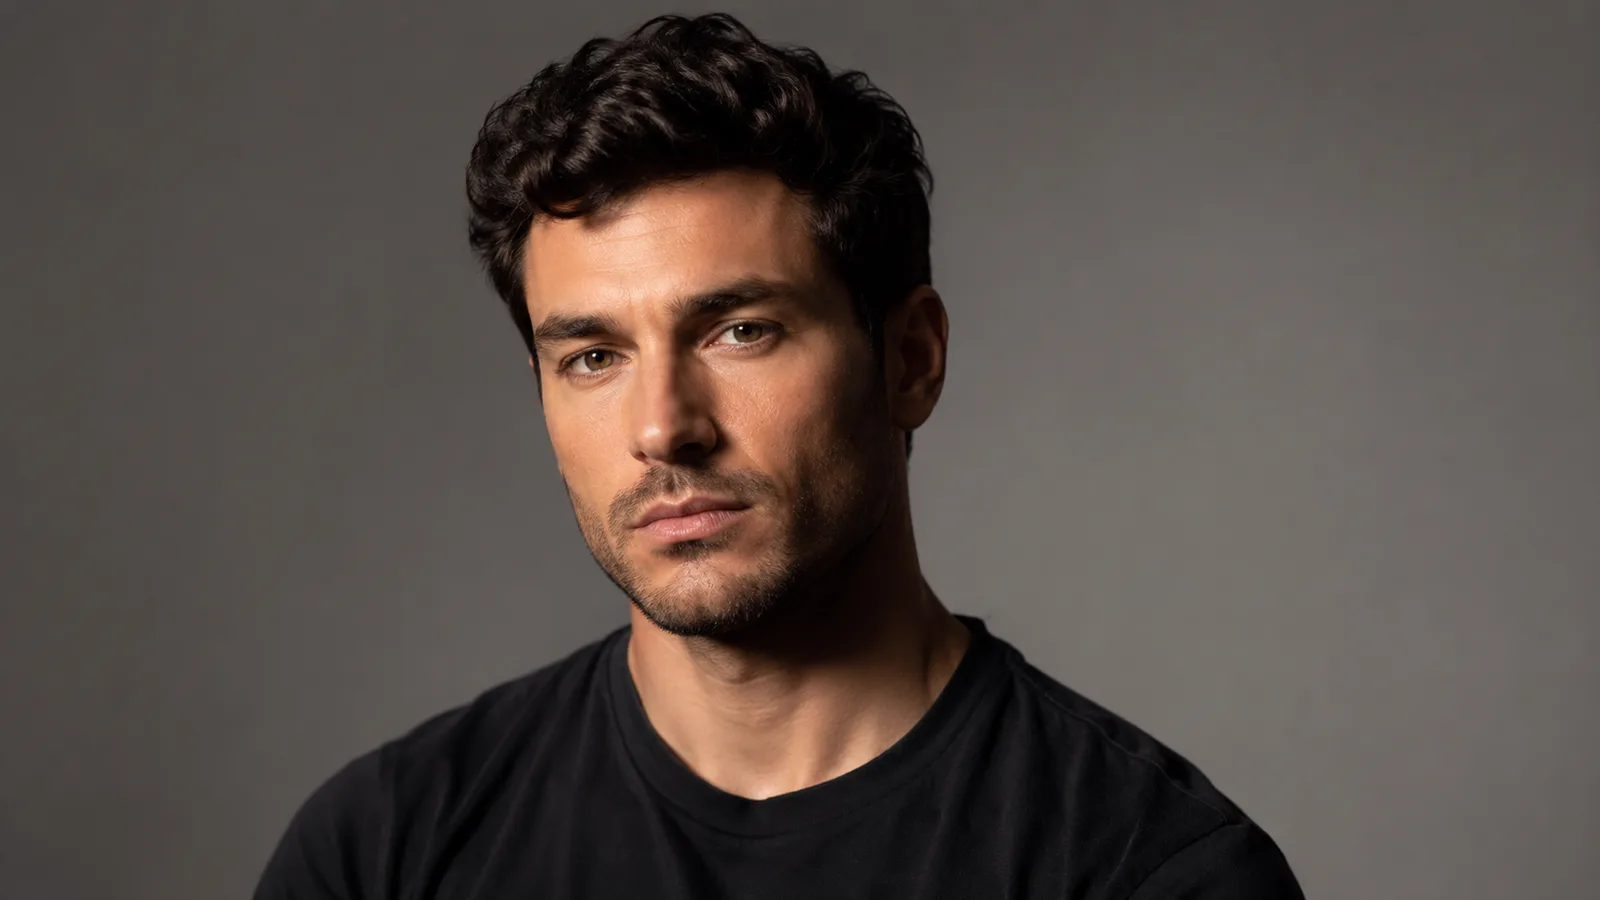
Choose a Reference With Clear Key Light and Shadow Logic
Select a reference with one readable key and honest shadow falloff.
Scene scale should roughly match the target subject or product.
Usable references make the light story scannable in one glance.
Clear key-light direction
Visible shadow falloff
Honest color temperature
Compatible scene scale
Weak references hide that story.
Skip mixed practicals that fight each other.
Heavy stylization can flatten true shadow logic.
Crushed blacks erase falloff you need to transfer.
Transfer Light Without Stealing Unwanted Style
Separate lighting transfer from style transfer.
Borrow highlight side, falloff, and temperature while protecting subject identity, product shape, and required brand colors.
Source-reported prompt patterns often preserve original color tones while using a reference for lighting and perspective.
Regenerate when identity or shape drifts.
Refine when only highlight side, fill, or ambient color still need alignment.
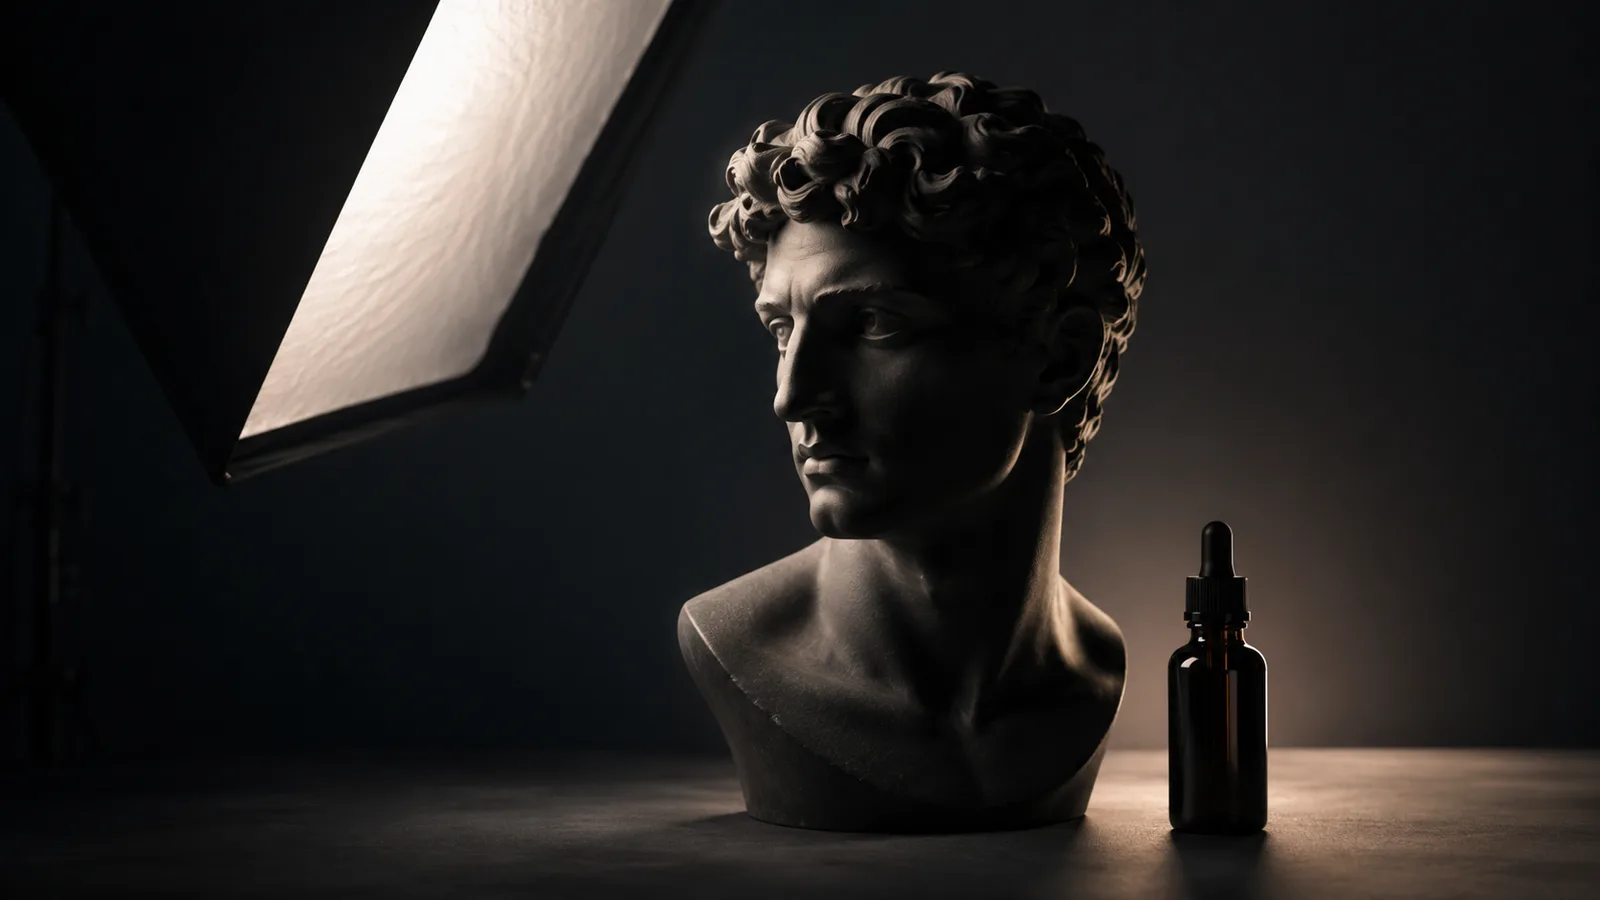
AI Lighting Control: Direction, Softness, and Intensity
AI lighting control is intentional direction, softness, intensity, and sometimes color placement that reshapes how form reads in the frame. After diagnosis, set key direction first, then softness, then intensity. That order reduces conflicting light cues and keeps subject form coherent.
Free-text prompts, a lighting reference image, and dedicated relight controls all shape light, but not equally well.
Direction decides form first. Softness and intensity only refine that decision.
| Control method | Steers well | Weakens when |
|---|---|---|
| Prompt language | Mood and color temperature | Cast geometry after hard composites |
| Lighting reference image | Direction and ambient color transfer | Multi-light setups conflict |
| Dedicated relight controls | Direction, soft/hard, intensity placement | Controls vary by tool |
Source-reported tutorials often set direction, then soft or hard light, then generate.
That order cuts conflict because mood words cannot override a broken key.
Set Direction Before You Chase Mood
Front, side, top, back, or free-angle placement changes form before style does.
Front light re-illuminates weak or backlit subjects without treating the whole frame as one exposure pass.
Side light carves cheek planes and packaging edges, and it reorients cast shadows with the key.
Top or back light adds rim and separation, but contact shadows stay thin if the key ignores environment cues.
Practical rule: match subject key light to the strongest environment cue before you raise intensity.
Choose Soft or Hard Light With Intent
Soft versus hard light is an edge-quality choice made after direction is locked.
Hard light can expose geometry errors when cheek planes or product edges disagree with cast direction.
Soft light can hide the edge detail later AI shadow correction needs to read cleanly.
Intensity should build believable contact without crushing blacks into empty voids.
Portraits often need softer falloff once the key is fixed. Products often need cleaner specular edges so packaging stays readable.
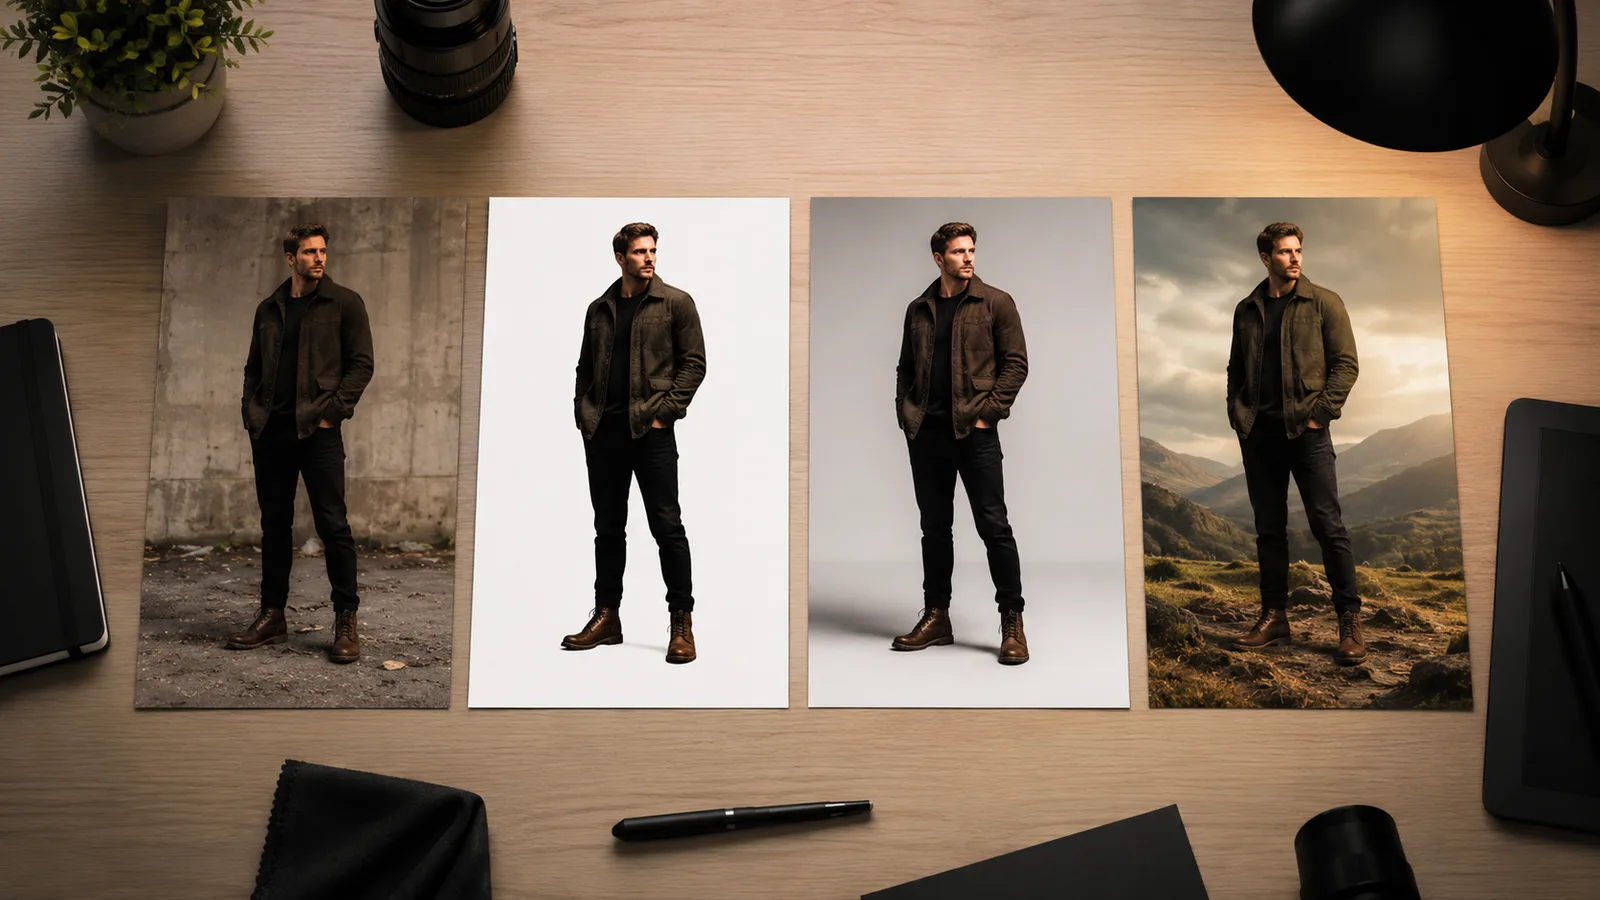
How to Relight AI Images in a Production Workflow
To relight AI images after a background swap or subject insert, inspect source quality first, isolate the subject when the old environment interferes, apply a lighting reference or directional controls, then reintegrate edges and ambient spill. Treat this as a shared-source rebuild, not a whole-frame exposure pass.
Source-reported production guidance says cleaner images with usable original light and shadow detail generally support more believable results.
Extremely dark, blurry, or heavily compressed files leave less information to reshape.
The better move: choose targeted relighting over global brightness when the subject and environment must share one key.
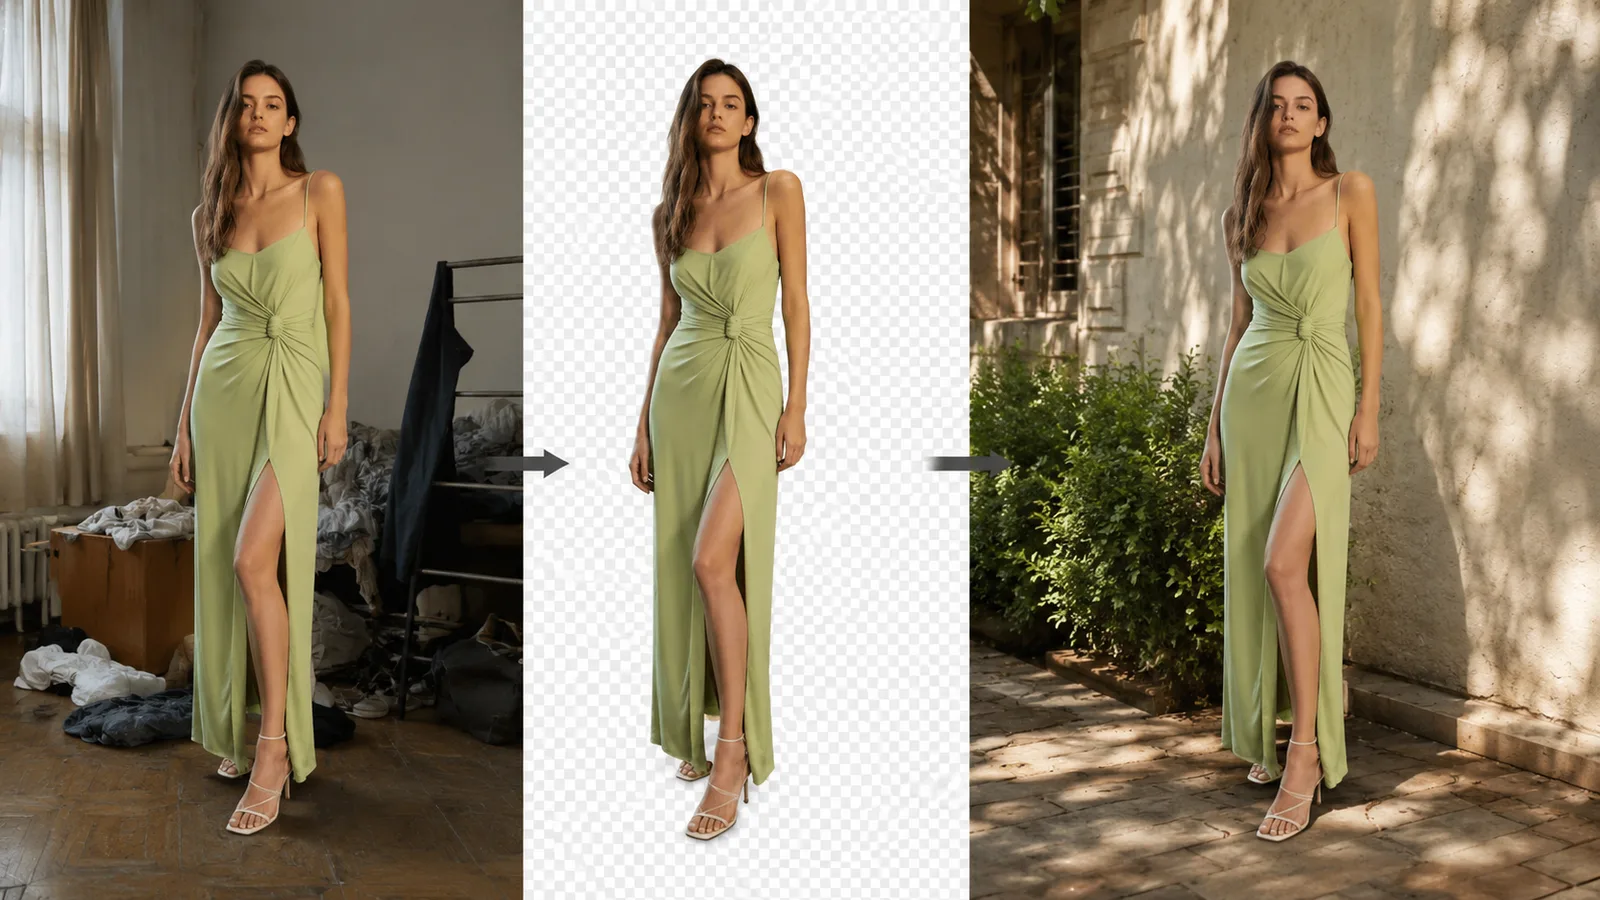
Isolate, Relight, Then Reintegrate
Run this sequence when background interference is high.
Inspect the source for readable highlights and residual shadow detail.
Isolate the subject only if the old environment still contaminates the light pass.
Apply a lighting reference or directional controls to rebuild the key.
Reintegrate edge spill, ground contact, and ambient bounce before any export polish.
Watch this AxiomGraph ComfyUI tutorial to see LBM match a new background.
Look at isolation first, then the relight, then the composite.
Over-isolation can erase environmental bounce that should still fall on the subject.
Keep a light inspect after reintegration, then leave deep AI shadow correction for the final pass.
Portrait, Product, and Composite Paths
Portrait, product, and composite paths protect different truths first.
| Scene path | Protect first | Relight priority |
|---|---|---|
| Portrait | Skin plane continuity and key side | Align cheek and nose highlights with the new environment |
| Product | Specular and material response | Keep packaging edges honest under one key |
| Composite | Multi-object shadow agreement | Force one cast and contact direction across elements |
For portraits, lock face-plane light before styling mood.
For products, rebuild specular truth before background drama.
For composites, unify cast direction across every inserted element before fine contrast work.

AI Shadow Correction and Final Coherence Checks
Final AI shadow correction is a coherence pass. Cast direction, contact density, highlight agreement, and reflection logic must match the chosen light source before export. Treat this gate as shared-source QA, not a brightness pass, after the relight is already complete.
A finished-looking composite can still fail when one shadow story fights another.
Pass only frames where subject, ground, and environment answer the same key.
Source-reported forensic notes flag inconsistent cast shadows and reflections, including mismatched or wrongly oriented cues.
Treat those as inspection rules, not a universal model failure claim.
Run this export checklist:
Confirm cast-shadow orientation matches the chosen key on subject and environment
Inspect contact shadows under feet, product bases, and object edges
Check speculars on skin, metal, glass, or packaging face the same light side
Match ambient fill to the new environment, not the old background
Reject leftover rim light or highlights from the previous scene
If cast direction looks right but contact is missing, the subject will float.
If speculars and floor shadows disagree, the light story splits.
Where Consistent AI Image Lighting Still Breaks
Even strong relighting can fail when cast shadows, reflections, or scene geometry still disagree with the chosen key light. Creators should know these failure modes before forcing more generations. Consistent AI image lighting requires shared-source agreement, not endless regeneration.
Source-reported forensic analysis notes that AI images can look natural while still producing perspectively incorrect cast shadows and reflections.
Unlike classic CGI with explicit 3D geometry, many generative systems learn statistical scene patterns without a full physical light model.
The catch: form can improve while shadow direction or mirrored cues stay wrong.
Common failure modes after a careful relight:
Conflicting cast-shadow directions across subject and ground
Missing, mismatched, or wrongly oriented reflections
Geometry that cannot support the new light path
Dark, blurry, or heavily compressed sources with weak shadow detail
Source-reported production guidance says cleaner images with usable light detail generally support more believable results.
When geometry still fails after targeted control, choose a production exit.
Reshoot or recompose for broken cast contact.
Simplify reflective materials when mirrors keep lying.
Accept controlled stylization when photo-real physics costs more than it returns.
Frequently Asked Questions
How do I keep lighting consistent across a multi-image campaign set?
Lock one key direction, color temperature, and softness before you batch work. Reuse the same lighting reference image or control settings across assets instead of relighting each frame from scratch. Independent passes often recreate mismatched lighting even when single frames look fine.
Should I relight before or after upscaling?
Relight while usable highlight and shadow detail still remain, then sharpen or upscale as a finishing step. Upscaling a broken light story usually locks wrong-side highlights and fake shadows into a higher-resolution file. Fix shared-source light first, polish second.
Do I always need to remove the background before AI image relighting?
No. Isolate only when the old environment still contaminates the light pass. Over-isolation can erase bounce and ambient spill the new scene should cast on the subject. Keep isolation as a conditional step, then reintegrate edge contact and fill.
Can AI image relighting fully fix wrong cast shadows and reflections?
It can realign many highlight and shadow cues, but perspectively incorrect cast shadows or mirrored reflections can remain when geometry is weak. If cast, contact, and reflection logic still fight after a clean pass, change the setup instead of regenerating forever. Treat residual physics breaks as a stop rule, not a prompt problem.
Will a lighting reference image change my subject identity or brand colors?
It can if the pass blends style transfer with light transfer. Instruct the workflow to borrow key side, falloff, and temperature while preserving identity, product shape, and required brand colors. Stop if costume or material finish drifts more than light response.
Why do contact shadows still look wrong after face or product highlights look fixed?
Highlights can update before ground contact density and cast length catch up, so the subject still floats. Reopen directional AI lighting control or your reference pass and reintegrate base contact. Avoid lifting global exposure to fake contact density.
Does AI image relighting replace a product reshoot?
It can help after background or mood changes when speculars, base contact, and cast direction can share one key. It is weaker when packaging geometry, chrome, or glass needs physical light paths the source never captured. Choose a reshoot or recompose when reflective materials keep disagreeing with the new environment.