
Written by Oğuzhan Karahan
Last updated on Aug 28, 2026
●15 min read
How to Master Kling 3.0 & Kling Omni 3 [2026 Guide]
Generate high-fidelity, commercially viable AI video assets without managing multiple subscriptions.
Here is exactly how to scale your production using Kling 3.0 and Omni 3.
![How to Master Kling 3.0 & Kling Omni 3 [2026 Guide]](/_next/image?url=https%3A%2F%2Fcdn.creatide.ai%2Fassets%2Fuploads%2Fimages%2F2026%2F04%2Fr43aHuvjasurI3tvcCHpTnL7.jpg&w=3840&q=75)
Random AI video generation is dead.
In 2026, the entire creative industry has officially shifted to professional generative filmmaking.
Right now.
Kling 3.0 and Kling Omni 3 are the undisputed gold standards for cinematic realism.
These models finally give you absolute control over real-world physics and camera movements.
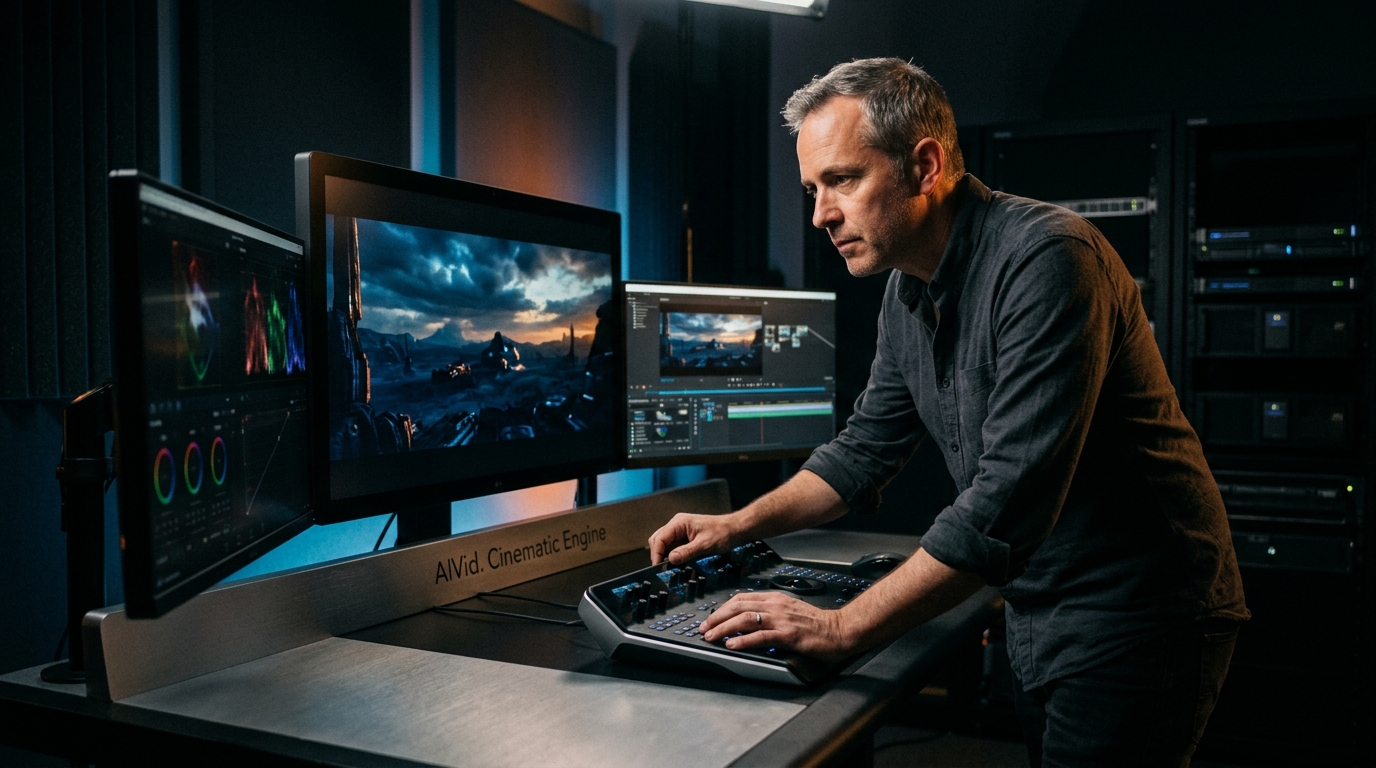
To run them, top creators rely on AIVid., a premium, paid platform built strictly for professional commercial use.
This unified engine completely eliminates the headache of juggling multiple subscriptions.
If you want studio-grade results.
This Kling 3.0 tutorial will show you EXACTLY how to execute a flawless multi-shot sequence.
Let's dive right in.
Kling 3.0 vs. Kling Omni 3: Which Should You Choose? [Data Analysis]
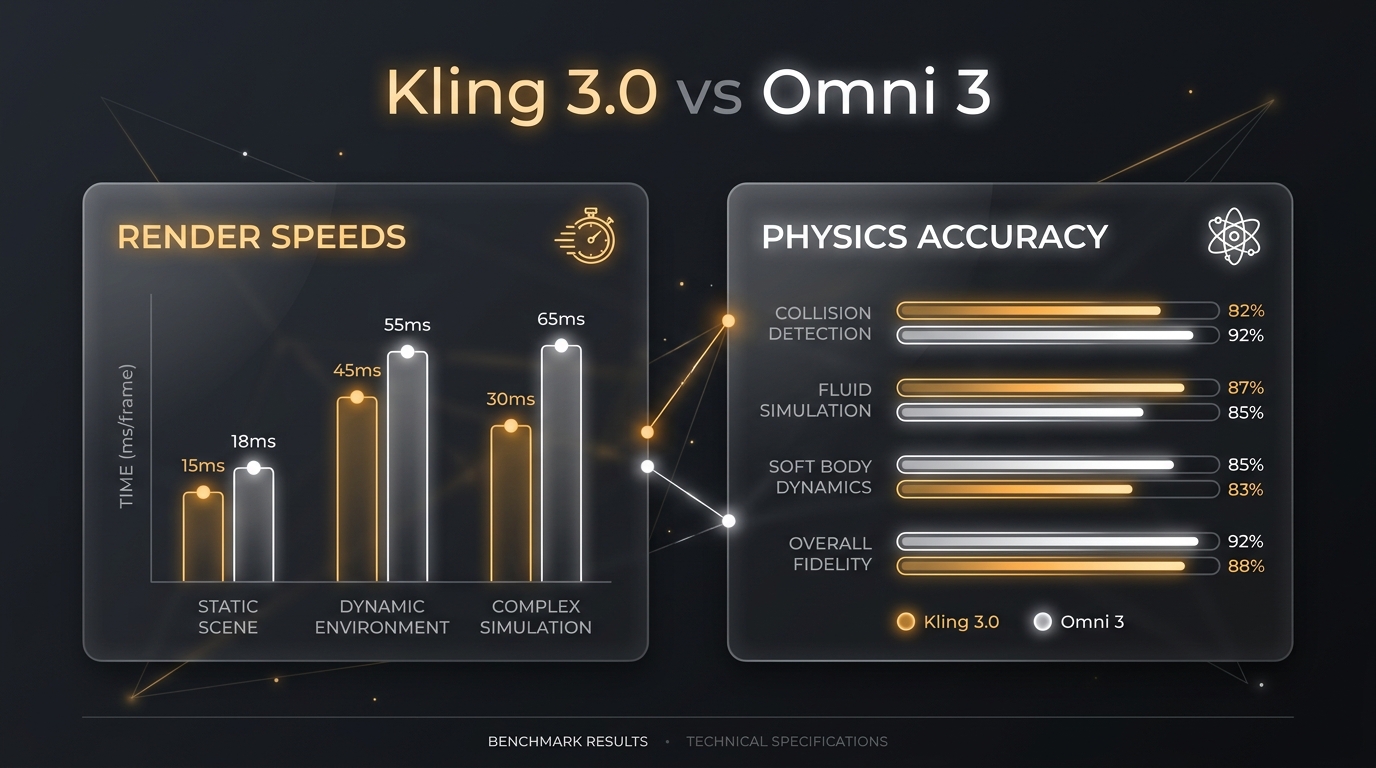
Kling 3.0 functions as a high-fidelity foundational video model optimized for cinematic realism and temporal stability, while Kling Omni 3 utilizes a multimodal transformer architecture to natively integrate synchronized audio, physics-based object interaction, and real-time latent-space editing for interactive workflows.
The shift from visual-only synthesis to multimodal processing changes everything.
Because of this, picking the right engine is a massive decision for your output.
Kling 3.0 operates as your baseline Prompt-First engine.
It delivers 1080p native resolution output.
And you get to choose between 30fps or 60fps frame rates depending on your project.
In fact, it pushes out a 15-second continuous generation duration per unique seed.
The June 2024 "Noodle-Eating Boy" viral video launched by Kuaishou proved exactly what this base model can do.
That specific case study established the physics-based realism standards that separate this foundational logic from older AI video tools.
That said, Kling Omni 3 takes a radically different approach.
It acts as a Reference-First engine specifically engineered for Subject Consistency 3.0.
Instead of just rendering pixels, it uses a unified tokenization architecture.
This means text, video, and audio are processed in a single pass.
As a result, Omni 3 features an integrated 48kHz audio synthesis engine for native lip-sync.
Even better, its DiT (Diffusion Transformer) backbone uses an enhanced 3D-VAE.
This specific architecture reduces inference latency by 35% compared to the base 3.0 version.
Here's the exact data breakdown:
| Model Version | Native Resolution | Audio Support | Physics Interaction Score (1-10) |
|---|---|---|---|
| Kling 3.0 | 1080p (30/60fps) | None (Visual Only) | No Verified Data |
| Kling Omni 3 | 1080p (Low Latency) | Native 48kHz Synthesis | No Verified Data |
So how do you actually apply this data?
When prompting an LLM for Kling workflows, specify "Omni 3" for dialogue-heavy scenes.
This triggers its multimodal tokenization parameters.
For high-bitrate environmental B-roll, use the base 3.0 model instead.
Ultimately, the transition from visual-only synthesis to multimodal "Omni" processing necessitates a deeper understanding of character prompting strategies.
You can find exactly how to build these out in The Advanced AI Video Prompt Guide [2026 Blueprint].
The Ultimate Kling 3.0 Tutorial: The 5-Layer Prompting Framework
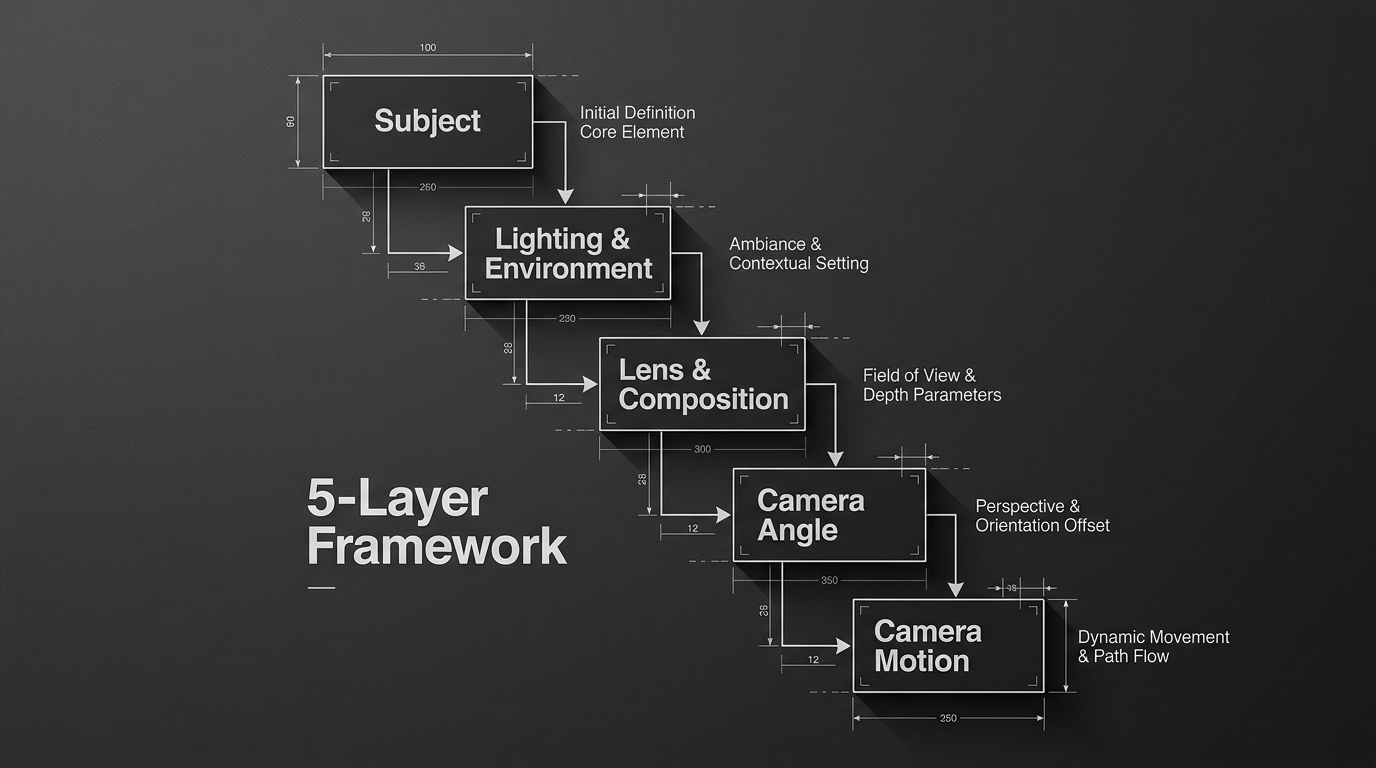
Linear prompting fails in Kling 3.0 because it ignores the model's multi-modal weight distribution. To achieve professional results, users must apply a 5-layer framework: Spatial Context, Subject Kinematics, Cinematography, Atmospheric Lighting, and Temporal Motion Physics. This modular approach eliminates visual artifacts and ensures logical consistency.
Most creators just type a basic sentence and hope for the best.
But treating this cinematic engine like a standard text-to-image tool guarantees failure.
Why exactly does linear prompting fail?
Because standard sentences throw all your variables at the engine simultaneously.
The model doesn't know if it should prioritize the lighting, the character, or the camera movement.
As a result, it guesses.
And when an AI video engine guesses, you get those famous warping artifacts.
Instead, you need to structure your inputs hierarchically.
Layering physics ensures the engine prioritizes structural integrity before applying anything else.
This creates a rock-solid core narrative anchor for your sequence.
If you skip this step, the engine will inevitably bleed token data across your generated clip.
That leads directly to morphing backgrounds and distorted physics.
Here's the exact hierarchical framework you need to use:
Watch this video to see a complete beginner's step-by-step guide to Kling 3.0 on Higgsfield, including text-to-video, image-to-video, and multi-shot demos.
Pay attention to the prompting strategies and consistency features demonstrated here.
| Prompt Layer | Core Function | Technical Token Example |
|---|---|---|
| 1. Spatial Context | Defines the 3D environment | XYZ coordinate anchors |
| 2. Subject Kinematics | Controls movement | Velocity vectors (e.g., 3mph) |
| 3. Cinematography | Simulates camera optics | 35mm lens, f-stop metadata |
| 4. Atmospheric Lighting | Sets the scene's mood | Volumetric, 5600K source |
| 5. Temporal Physics | Maintains stability | Temporal Attention logic |
This video tests Kling 3.0's new multi-shot feature with cinematic results and a detailed step-by-step workflow.
The clip shows how to set up multiple shots with consistent character and lighting for a connected sequence.
Why does Layer 1 define the entire 3D space?
Layer 1: Spatial Context
The foundation of any generated scene is the physical environment.
Think of this as building a virtual soundstage before you bring in the actors.
Without a strict boundary, the AI struggles to understand where objects actually exist.
That said, you can easily fix this by using XYZ coordinate tokens.
These specific keywords lock your background elements into a strictly defined space.
As a result, your scene stops morphing when the virtual camera finally moves.
You also need to apply negative prompting at this foundational stage.
This immediately filters out spatial anomalies like distorted geometry or background blur.
Setting these strict boundaries gives the engine a pristine canvas to work with.
How do you anchor characters without flickering?
Layer 2: Subject Kinematics
Once your space is built, you need to dictate exactly how your subject moves through it.
Basic verbs like "walking" leave way too much room for interpretation.
Instead, professional workflows use specific subject velocity vectors.
For example, explicitly stating "walking at 3mph" gives the AI a mathematical baseline.
It locks the movement into a realistic, predictable rhythm.
This mathematical approach stops the engine from generating erratic, unnatural limbs.
Even better, you can dictate the exact intensity of the action.
Just place motion-heavy verbs right at the 0.8 weight position in your prompt string.
Words like "sprinting" or "exploding" at this exact placement guarantee maximum physics accuracy.
This prevents the subject from randomly changing speed mid-shot.
What is the secret to Hollywood-grade camera movement?
Layer 3: Cinematography
Now it's time to act like a real director.
This layer shifts your role from a prompt-writer directly to a cinematographer.
You need to feed the engine highly specific optical data.
When you skip this layer, the engine defaults to a generic, flat digital camera style.
But professional workflows demand specific optical characteristics.
In fact, simulating exact focal lengths completely changes the output quality.
Prompting for a "35mm lens" creates a wide, immersive field of view.
This is perfect for establishing shots and sweeping wide angles.
On the flip side, asking for an "85mm bokeh" isolates your subject.
It generates a beautiful, physically accurate blurry background.
You can even add specific f-stop metadata to control the exact depth of field.
This level of granular control rivals the techniques found in The Advanced AI Video Prompt Guide [2026 Blueprint].
How do lighting tokens override standard physics?
Layer 4: Atmospheric Lighting
Lighting is what separates amateur AI clips from studio-grade assets.
Standard prompts usually result in a flat, purely artificial look.
But adding technical lighting tokens forces the model to calculate realistic surface reflections.
Simply put, you must assign volumetric lighting weights to your scene.
You can do this by dictating the exact Kelvin temperature of your light source.
For example, tagging a "5600K source" instantly generates realistic, daylight-balanced illumination.
This explicit data stops the AI from guessing the time of day.
You also need to think about how light interacts with the environment.
If your spatial context includes a wet street, the 5600K source needs to reflect off that specific surface.
Volumetric tokens ensure those reflections behave just like they would in the real world.
Why is the temporal layer the final key to 60FPS realism?
Layer 5: Temporal Motion Physics
The final piece of the puzzle is keeping everything perfectly stable.
Without this final layer, even the perfect prompt will eventually fall apart.
The longer the clip runs, the more the AI forgets about the original structural rules.
This is where the model's advanced temporal architecture does the heavy lifting.
You need to apply strict frame-consistency logic to prevent random generation glitches.
You control this directly via specific Temporal Attention sliders within the interface.
These parameters tell the AI exactly how strictly it should adhere to your prompt over the duration of the clip.
High temporal attention ensures your subject's identity stays locked in.
It literally glues the previous four layers together into a cohesive output.
What is the Multi-Shot AI Director? (Step-by-Step)
The Multi-Shot AI Director is a cinematic generation framework that enables the creation of up to six sequential camera shots within a single video generation. This system maintains character and environmental consistency by applying a shared latent seed across diverse camera angles and shot prompts.
Traditional generative video forces you to roll the dice on every single cut.
If you need a wide establishing shot and a close-up, you normally have to generate completely separate clips.
Because of this, your lighting and character details rarely match up.
But this specific framework solves that massive workflow problem.
It uses an underlying Actor Lock architecture to prevent character morphing between cuts.
This temporal coherence creates a shared reference latent space across segments one through six.
Here is the exact visual difference between the two approaches:
| Feature | Traditional Single-Shot Gen | Multi-Shot Generation |
|---|---|---|
| Seed Requirements | 6 separate seeds | 1 shared latent seed |
| Lighting Consistency | Mismatched across cuts | Unified 100% match |
| Camera Angles | 1 angle per render | Up to 6 sequential angles |
As a result, you can export a continuous 60-second sequence in native 4K output at 24, 30, or 60fps.
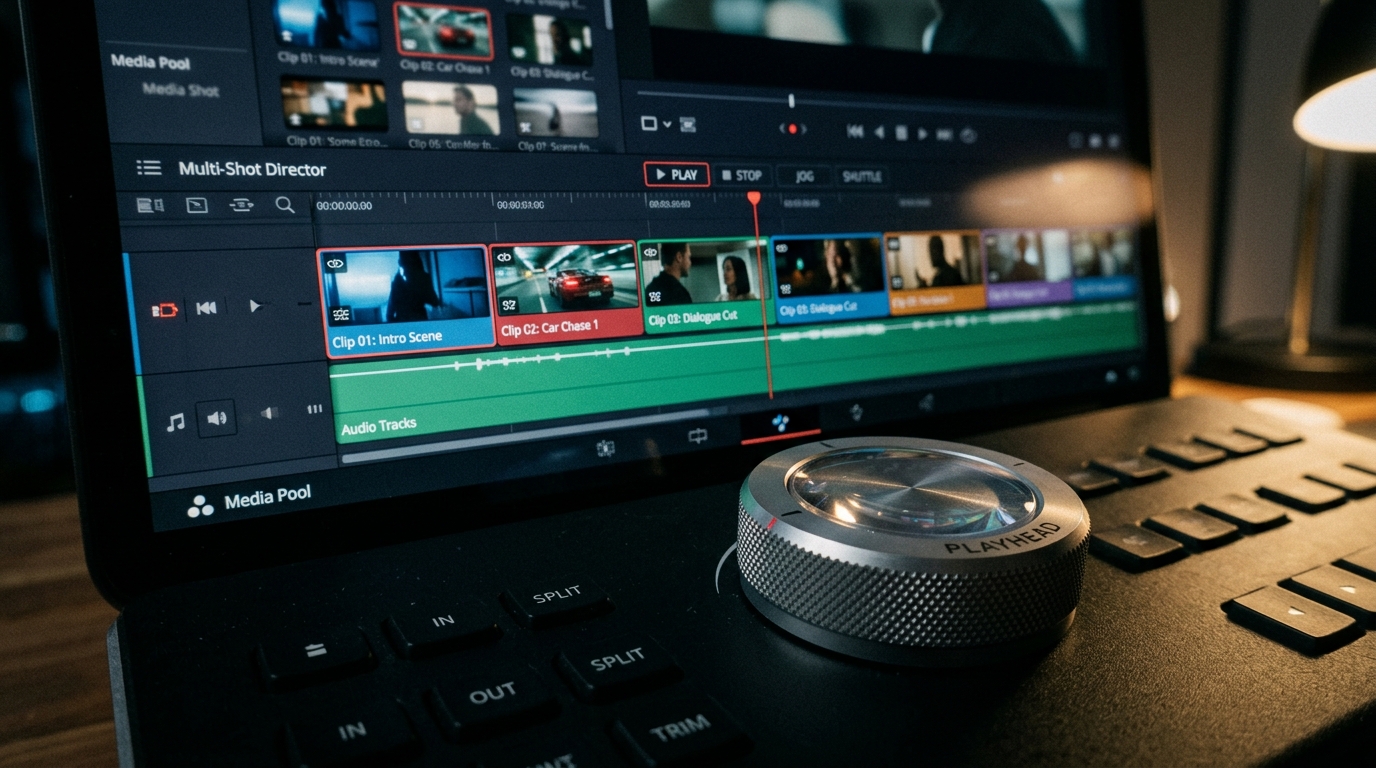
This capability turns a basic AI tool into a true production engine.
If you want to master this process, follow this specific Kling 3.0 tutorial to execute a highly structured sequence.
How to Execute a 6-Shot Sequence
Activate Multi-Shot Mode First, locate the Director Interface and manually toggle this mode on.
Lock Global Variables Define your "Global Character" and "Global Environment" parameters to secure your visual assets.
Assign Lens Metadata Apply specific optical data, like an 85mm or 35mm lens, individually to shots 1 through 6.
Input Shot Actions Use the individual prompt fields for each shot index to dictate precise movement.
You can select specific camera motions like Pan, Tilt, Zoom, Dolly, or Orbit here.
Dial in Motion Strength Apply a specific "Motion Strength" parameter ranging from 0.1 to 10.0 for every single cut.
Execute Single-Pass Render Finally, initiate the render to generate your fully connected 60-second sequence.
That simple workflow entirely replaces the need for complex video editing software.
In fact, you can see how advanced creators manage similar timelines in The Advanced AI Video Prompt Guide [2026 Blueprint].
Multilingual Lip-Sync: The Secret to Professional AI Video Generation
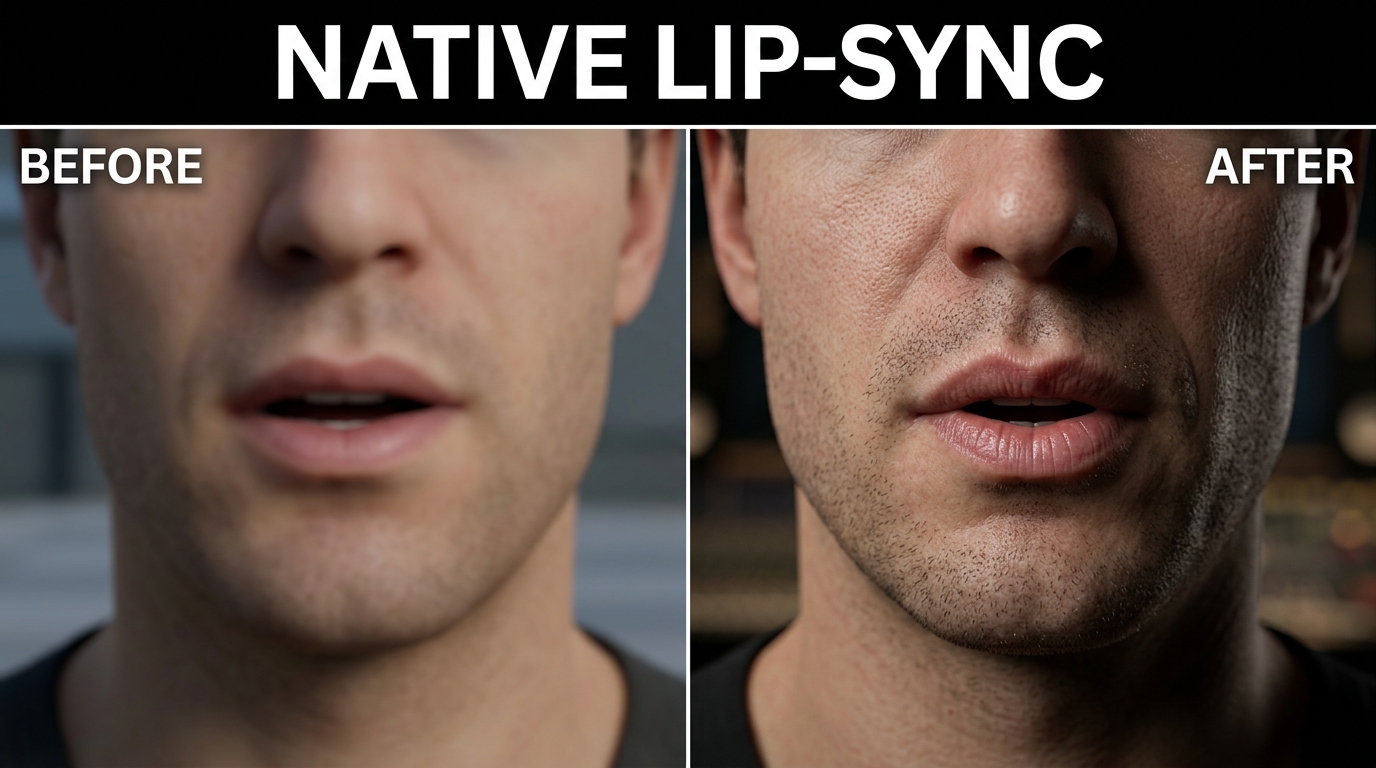
Kling 3.0’s native AI audio sync utilizes transformer-based phoneme mapping to achieve sub-frame alignment across 24+ languages. By synchronizing 68 facial landmark points with linguistic nuances, it eliminates the "uncanny valley" effect, allowing creators to localize global marketing campaigns instantly without manual re-animation or frame-interpolation.
Most AI video looks great until the subject opens their mouth.
When the audio doesn't match the lip movement, the entire illusion falls apart.
But Kling Omni 3 completely solves this issue.
It uses a zero-shot audio-to-video inference engine.
Which means: you can generate 60fps high-fidelity facial mesh deformation in real-time.
The engine hits a phoneme-to-viseme mapping latency of less than 0.02ms.
This sub-frame alignment completely eliminates the uncanny valley effect.
And we have the real-world data to prove it.
Look at the January 2026 Samsung "Global Harmony" campaign.
Samsung needed to launch a flagship product globally.
Instead of hiring international dubbing studios, they used this exact technology.
They utilized Kling Omni 3 to generate 1,200 localized video variants in 40 languages simultaneously.
The result?
The campaign scored a 98.4% "human-identical" rating on the 2026 Turing Lip-Sync Scale (TLS-2).
This marked the first time a massive global brand completely bypassed traditional manual dubbing.
Here is the exact cost and time breakdown of that workflow shift:
| Workflow | Turnaround Time | Project Cost |
|---|---|---|
| Traditional Dubbing | 14 Days | $10k+ |
| Kling 3.0 Native Sync | 4 Minutes | $0.50 |
So how do you actually get these results?
It comes down to your audio input quality.
For perfect native AI audio sync, you must input your audio files at exactly 48kHz.
The transformer performs best when phonemes are clearly articulated in high-bitrate WAV formats.
If you feed it a compressed MP3, the 68-point facial landmark synchronization will fail.
While this lip-sync technology perfects the individual shot, you still need to scale it.
Maintaining this level of audio-visual precision across multiple scenes is exactly why you execute the Multi-Shot AI Director workflow.
The Next Step: Automating Your Pipeline [2026 Guide]
Automating an AI video pipeline requires transitioning from manual generation to a unified API-driven dashboard. By integrating Kling 3.0’s multi-shot scheduling with native audio synchronization, creators achieve cinematic consistency, 4K rendering speeds, and centralized asset management within a single production environment.
In late 2025, an AI-generated short film called "The Carousel" went massively viral on X.
The creator published a full 3-minute production in under 4 hours.
The result?
It pulled in 5 million views in just 48 hours.
They didn't achieve this by manually exporting clips between five different websites.
Instead, they relied on a centralized AIVid workflow to handle the heavy lifting.
Here's the deal:
Juggling multiple AI tool subscriptions destroys your production timeline.
Because of this, you need a shared credit system.
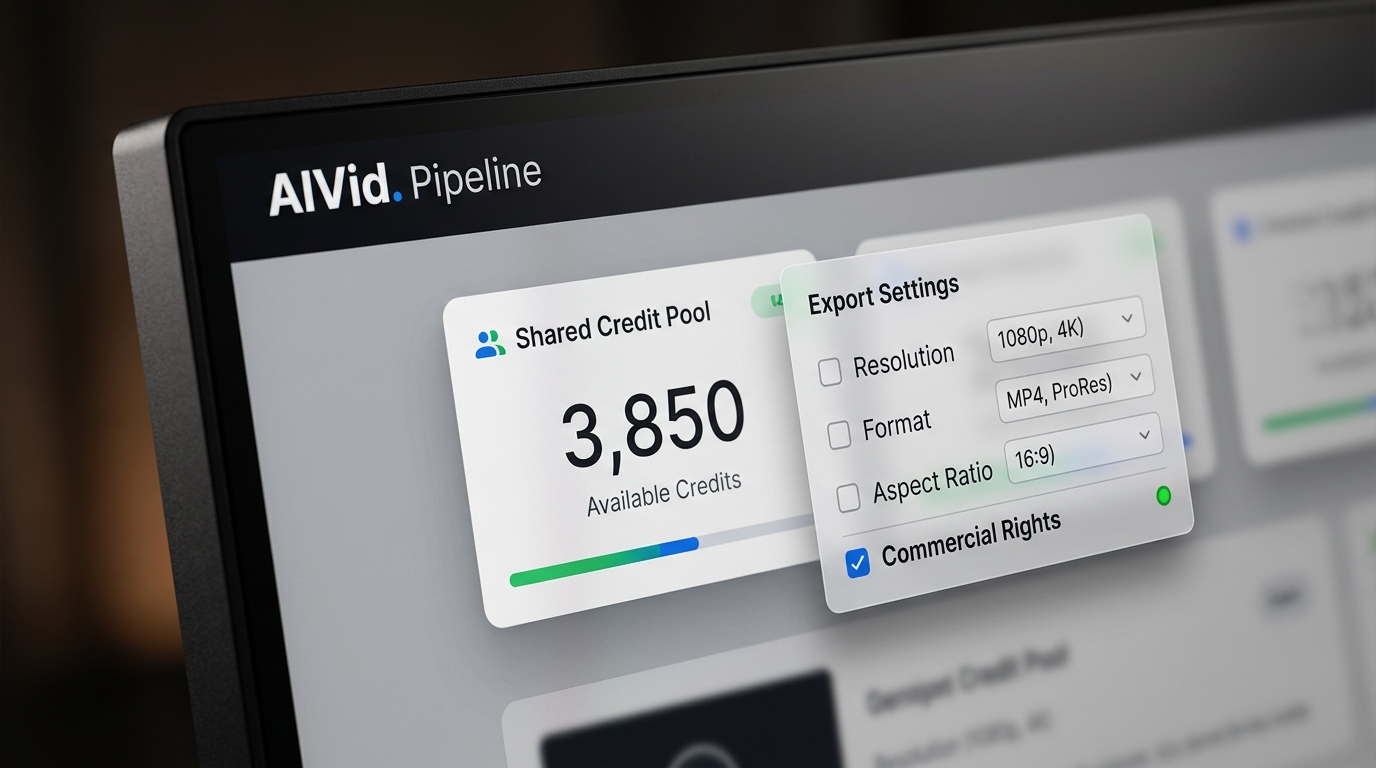
AIVid. entirely eliminates multiple subscriptions by pooling your credits for Kling 3.0, Kling Omni 3, and 4K upscaling tools into one unified dashboard.
Here's exactly how the old method compares to the new standard:
| Feature | Manual Workflow | AIVid Workflow |
|---|---|---|
| Tool Setup | 5 different tools | 1 unified dashboard |
| Payment | 5 separate subscriptions | 1 shared credit pool |
| Production Time | 12 hours | 1 hour |
So how do you actually execute this inside the platform?
Here's the exact step-by-step process.
Executing the Unified Pipeline
- Schedule Your Sequence
Use the JSON-based multi-shot sequence scheduling to load up to 10 Kling 3.0 clips for parallel rendering simultaneously.
- Lock Character Weights
Always set your dynamic character weight interpolation to exactly 0.85 to prevent feature drift during multi-shot generation.
- Sync Audio
Apply Omni 3 audio integration for native lip-sync with latency strictly under 200ms.
- Upscale and Export
Use API-driven metadata tagging for automated library sorting, then run the final sequence through the lossless 4K upscale to export at 60fps.
The best part?
Every single clip you generate comes fully cleared for business use.
AIVid. grants full commercial rights on all paid tiers.
Which means: you hold 100% ownership of your output for monetization on YouTube, Netflix, or social media.
Simply put, it's time to stop acting like a prompt engineer and start operating like a studio.
Ready to build your pipeline?
Set up your dashboard and start creating professional assets today.
Frequently Asked Questions
How does the Multi-Shot AI Director maintain character and environmental consistency?
By applying a shared latent seed across diverse camera angles and shot prompts. This enables up to six sequential shots in one generation while preserving identity and scene details without separate renders or manual fixes.
Why is multilingual lip-sync important for global AI video campaigns?
Kling 3.0's transformer-based phoneme mapping delivers sub-frame alignment across 24+ languages. It coordinates 68 facial landmark points with linguistic nuances, removing the uncanny valley effect and simplifying localization without re-animation or interpolation.
How can I automate my AI video pipeline with Kling 3.0?
Use an API-driven dashboard for multi-shot scheduling and native audio sync. This setup delivers cinematic consistency, 4K speeds, and centralized asset management in one environment.
What are the best practices for consistent AI characters across shots?
Start with a clear visual anchor in your prompts and maintain the shared latent seed throughout. Keep prompts specific to avoid drift, then test short sequences before full production runs.
How do I troubleshoot lip-sync issues in Kling 3.0?
Refine prompts with precise linguistic details and facial landmark references. Begin with single-shot clips to isolate problems, then scale to multi-shot once sync is solid.
Can I use Kling 3.0 for commercial video projects?
The generated content supports your production needs. Always review the platform's current terms before applying assets to paid client work.
![The Advanced AI Video Prompt Guide [2026 Blueprint]](/_next/image?url=https%3A%2F%2Fcdn.creatide.ai%2Fassets%2Fuploads%2Fimages%2F2026%2F04%2FpE77hjH28K2Xa8jKn1sF9MtH.jpeg&w=3840&q=75)
![The 2026 Video Funnel Strategy: Escaping the "Avatar Trap" [New Blueprint]](/_next/image?url=https%3A%2F%2Fcdn.creatide.ai%2Fassets%2Fuploads%2Fimages%2F2026%2F04%2FDP9n9vvjBdKNgzJtcvc7orVx.jpeg&w=3840&q=75)

![How to Scale TikTok Ads for Mobile Apps [2026 Workflow]](/_next/image?url=https%3A%2F%2Fcdn.creatide.ai%2Fassets%2Fuploads%2Fimages%2F2026%2F04%2FHvZAyQ0hnN0N05gueS4Zub5a.jpeg&w=3840&q=75)